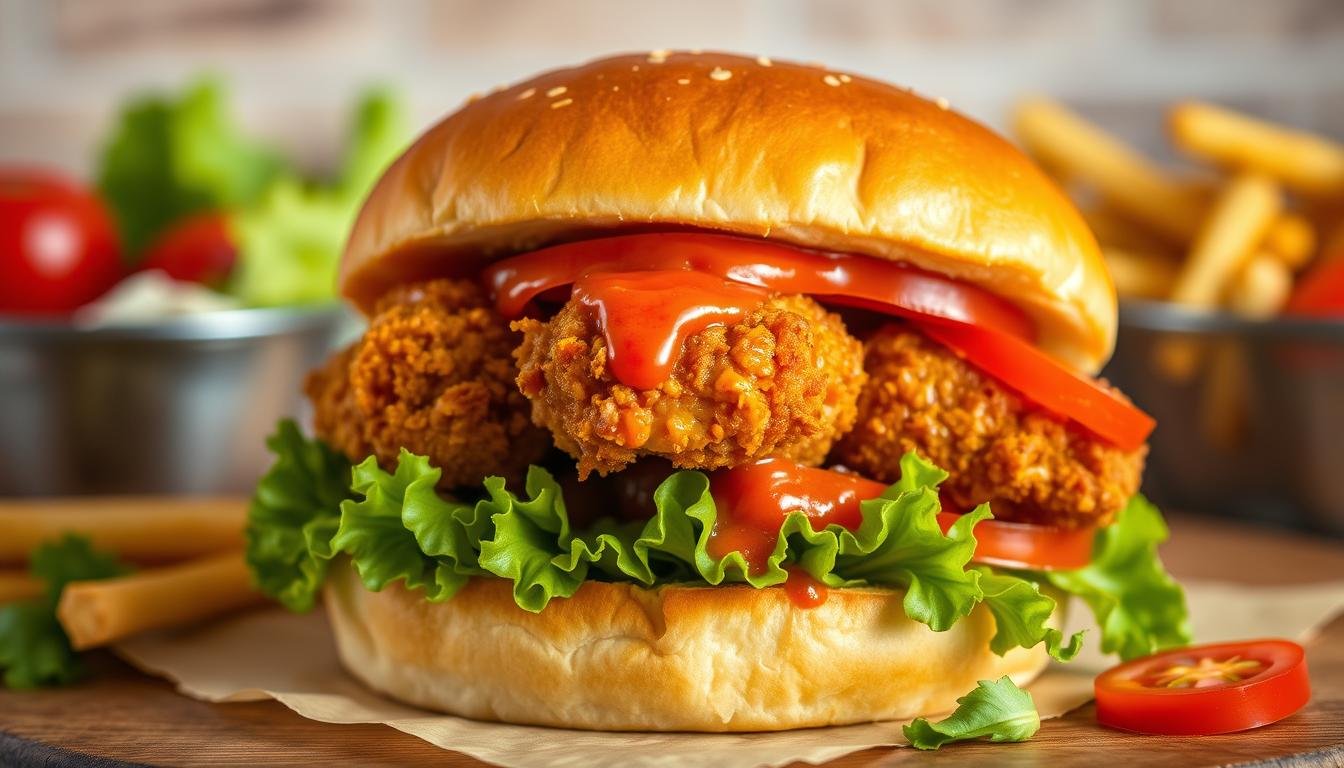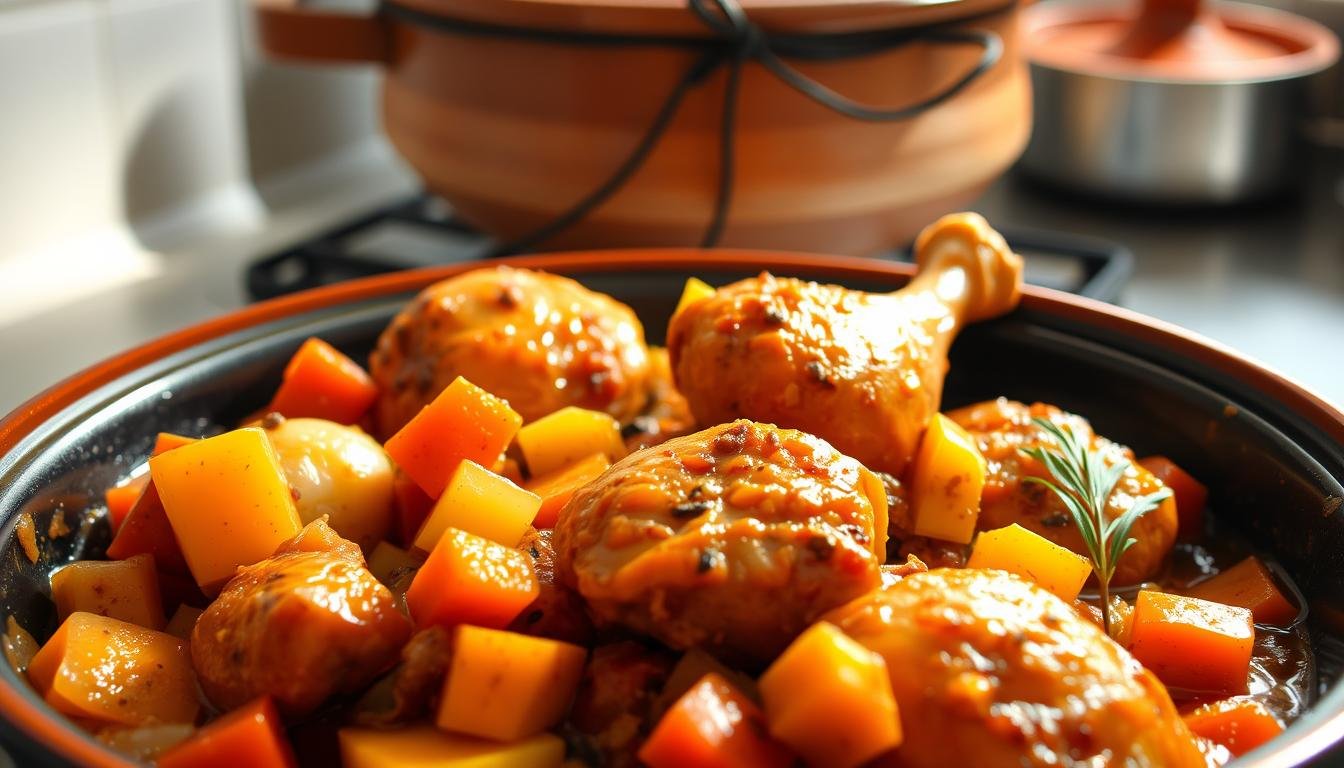

Remember that perfect bite? The satisfying crunch giving way to tender, juicy meat inside. It’s the kind of meal that turns an ordinary Tuesday into a small celebration around your family table.
That golden-brown delight, a staple in homes worldwide from Austria to Israel, is easier to master than you think. With a few chef-approved secrets, you can recreate that restaurant-quality magic right in your own kitchen.
The real key lies not just in the cooking, but in the preparation. A quick brine keeps your cutlets incredibly moist. Pounding the breasts to an even thickness ensures each piece cooks perfectly golden and crispy, never soggy.
For the ultimate coating, many swear by homemade breadcrumbs. But quality panko breadcrumbs work wonderfully too, creating that light, airy crunch we all love.
Serve your masterpiece with lemon wedges and a fresh salad. It’s a complete, satisfying meal that brings everyone together. Let’s begin your journey to the crispiest schnitzel ever.
Why Chicken Schnitzel Is a Family Favorite
Few meals unite everyone at the table like this golden delight. Its crispy coating and tender interior appeal to both kids and adults. You can count on it to bring smiles and empty plates.
In many homes worldwide, it’s a beloved comfort food. In Israel, it’s as common as chicken fingers are in America. Families enjoy it for weeknight dinners or special gatherings.
One mom shared a touching story. Her son brought Israeli cookbooks home as a gift. Her daughter loved the meal so much, she mentioned it in her prayers.
Versatility is another big plus. You can pair it with many sides like salads or roasted veggies. This makes it a flexible choice for any meal.
It’s also quick to make. The entire process takes about an hour. You can fit it into busy schedules without stress.
Cooking together can be fun for the whole family. From pounding the meat to dipping in egg, it’s a hands-on activity. Everyone can join in and help.
Leftovers reheat well for next-day lunches. Just use an air fryer or oven to keep them crispy. It’s practical for households that plan meals ahead.
Here’s a quick look at why it’s so popular:
| Feature | Benefit |
|---|---|
| Crispy Texture | Kids love the crunch; adults enjoy the contrast. |
| Quick Prep Time | Ready in under an hour, perfect for weeknights. |
| Adaptable Sides | Pairs with salads, potatoes, or fresh veggies. |
| Easy to Scale | Great for small dinners or large gatherings. |
| Reheats Well | Stay crispy when warmed up the next day. |
This dish brings people together over good food. Its simple, delicious nature makes it a timeless favorite for all.
The Chef’s Secret: Quick-Brining for Juicy Chicken
Many home cooks overlook a crucial technique that transforms ordinary cutlets into extraordinary meals. This simple step takes your breaded dish from good to restaurant-quality perfection.
How Brining Enhances Flavor and Texture
Brining involves soaking poultry in a saltwater solution. Sometimes a little sugar gets added for balance. This process works magic on lean cuts like skinless breasts.
The science behind it is fascinating. Osmosis pulls the seasoned liquid into the meat. Your cutlets absorb moisture and flavor throughout.
Timing matters tremendously. Thirty to forty-five minutes is ideal for most recipes. Going longer can make the meat too salty.
Kosher salt works best for this technique. It dissolves easily and provides clean flavor without bitterness. The results speak for themselves.
After brining, always pat your cutlets completely dry. This ensures the breading sticks properly during the coating process. You’ll get that perfect crispy exterior.
Here’s why brining makes such a difference:
| With Quick Brining | Without Brining |
|---|---|
| Juicy, moist interior | Can become dry during cooking |
| Enhanced flavor throughout | Seasoning only on surface |
| Tenderized texture | Firmer, less yielding bite |
| Better moisture retention | More prone to drying out |
| Restaurant-quality results | Home cook consistency |
This technique doesn’t add much time to your recipe. The payoff is enormous though. You get incredibly tender, flavorful results every time.
Proteins break down slightly during the brining process. This creates more palatable texture in the final dish. Your family will notice the difference immediately.
Quick-brining is the secret to achieving that perfect contrast. Crispy golden coating gives way to succulent, juicy meat inside. It’s worth those extra minutes for spectacular results.
Gather Your Ingredients
Before you start cooking, it helps to have everything ready. This makes the process smooth and enjoyable. You’ll find most items already in your pantry.
For the Brine
The brine keeps your meat juicy and flavorful. You need just three simple components.
- Cold water – 2 cups
- Kosher salt – 2 tablespoons
- Sugar – 2 teaspoons
Stir these until fully dissolved. This creates the perfect brining solution.
For the Breading Station
This setup gives your cutlets that famous crispy coating. Quality matters here for the best results.
- All-purpose flour – ½ cup
- Fresh eggs – 2 large, beaten
- Panko breadcrumbs – 1⅓ cups
- Black pepper – ¼ teaspoon
- Fine sea salt – ½ teaspoon
- Garlic powder – ¾ teaspoon
- Paprika – ¾ teaspoon
- Sesame seeds – 2 tablespoons
Sesame seeds add a wonderful nutty flavor. They make the coating extra special.
For Cooking and Serving
Choose the right oil for frying. Neutral options work best for high heat.
- Vegetable, canola, or peanut oil – enough for pan frying
- Fresh lemon wedges – for serving
- Parsley – optional garnish
These fresh touches brighten up the finished dish. They add color and zesty flavor.
All ingredients are common and easy to find. Gathering them first streamlines your cooking time. You’ll appreciate this organization later.
Essential Tools for Perfect Schnitzel

Having the right equipment transforms your cooking experience. Proper tools make the entire process smoother and more successful. They help you achieve that restaurant-quality result at home.
Start with a meat mallet or heavy rolling pin. You need these to pound your meat to perfect thickness. Aim for an even ¼ inch across all pieces.
Resealable plastic bags are your best friend here. Place cutlets inside before pounding. This contains mess and keeps your kitchen clean.
Set up three shallow bowls for your breading station. Use one for flour seasoned with salt and pepper. Another holds beaten eggs. The third contains your panko breadcrumbs mixture.
Choose a large skillet for frying. Nonstick or cast iron works best. These distribute heat evenly for consistent cooking.
Never skip the wire rack and baking sheet. Place cooked pieces here to drain. This allows air circulation to maintain crispiness.
Keep paper towels handy throughout. Use them to pat dry brined meat. They also line plates for draining excess oil.
An instant-read thermometer ensures perfect doneness. Check that internal temperature reaches 165°F. This prevents overcooking your delicious cutlets.
Consider these additional tools for even better results:
- Splatter screen: keeps your stovetop clean during frying
- Food processor: creates superior homemade breadcrumbs from toasted bread
- Tongs: help flip pieces safely in hot oil
These tools make the recipe enjoyable for the whole family. Everyone can participate in different steps. Cooking becomes a fun activity rather than a chore.
Proper equipment ensures your ingredients work together perfectly. You’ll create golden, crispy coating every time. The results will impress everyone at your table.
Prepare the Chicken
Proper preparation transforms simple ingredients into something extraordinary. Taking a few extra minutes here makes all the difference in your final results.
You’ll create the foundation for that perfect crispy texture. Each step builds toward juicy, flavorful cutlets that cook evenly.
Slicing and Pounding Techniques
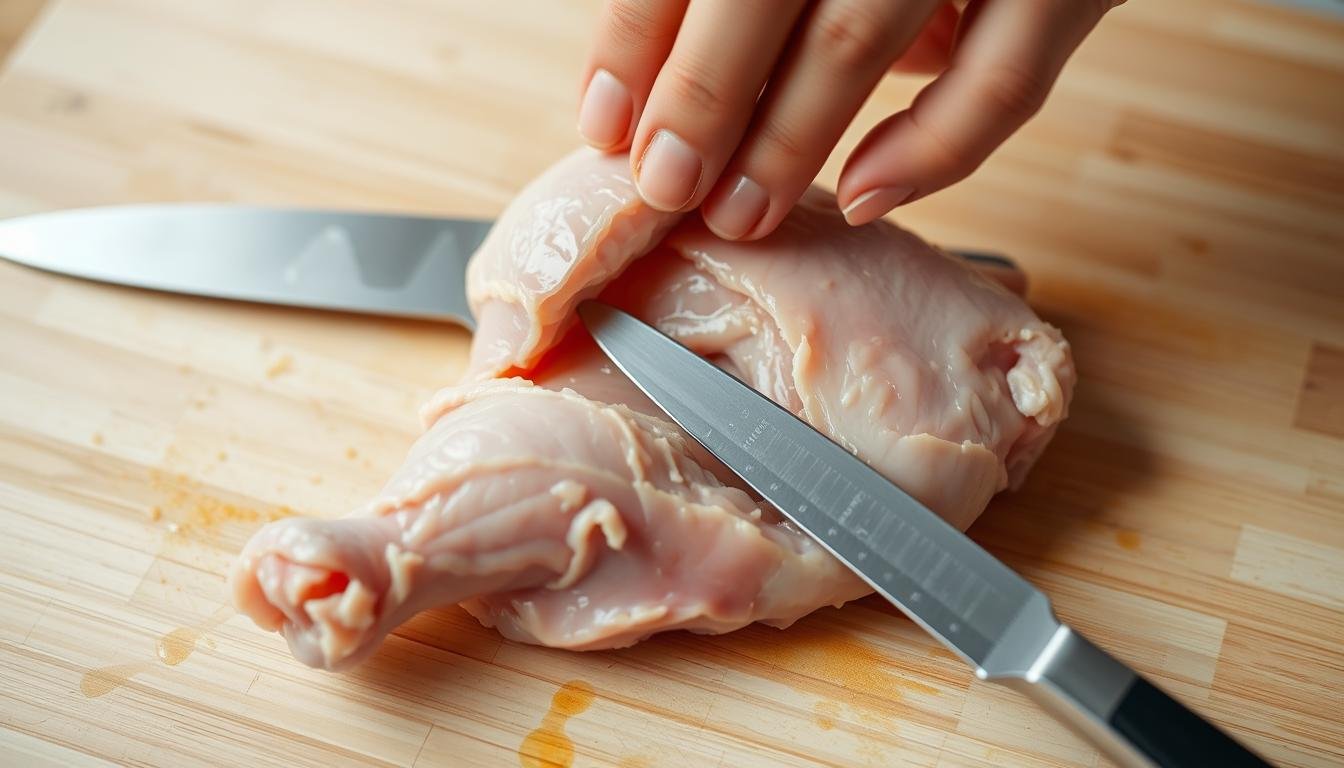
Start with boneless, skinless breasts. Slice them horizontally to create thinner fillets. This makes them easier to work with during the pounding process.
Place each piece inside a resealable plastic bag. Use a meat mallet or heavy pan to pound them evenly. Aim for uniform ¼-inch thickness throughout.
This technique serves two important purposes. It tenderizes the meat for better texture. It also ensures consistent cooking times.
Remove the tender if your breasts have one. This small piece cooks faster than the main portion. Separating it prevents overcooking.
Brining Process Explained
Brining might seem like an extra step. But it’s worth every minute for the incredible results. Your cutlets will stay moist and flavorful.
Combine water, kosher salt, and sugar in a bowl. Stir until everything dissolves completely. Add your pounded pieces to this solution.
Let them sit for 30-45 minutes. Don’t exceed this time to avoid over-salting. The brine works its magic quickly.
After brining, pat each piece completely dry. Use paper towels to remove excess moisture. This helps the coating adhere properly later.
| Preparation Step | Key Benefit | Time Required |
|---|---|---|
| Slicing Horizontally | Creates even thickness for pounding | 2-3 minutes |
| Pounding to ¼-inch | Ensures consistent cooking | 5-7 minutes |
| Quick Brining | Enhances moisture and flavor | 30-45 minutes |
| Drying Thoroughly | Helps breading adhere better | 2 minutes |
These preparation steps might add some extra time. But they prevent common problems like dry or unevenly cooked meat. Your family will taste the difference immediately.
Proper preparation sets you up for success. You’ll create restaurant-quality results right in your own kitchen. The effort always pays off in the final dish.
Create the Breading Station

Setting up your workspace properly makes the entire breading process smooth and efficient. A well-organized station helps you achieve that perfect crispy coating everyone loves.
You’ll need three shallow bowls for this setup. Arrange them in a logical order from left to right. This creates an assembly line for your cutlets.
Mixing the Panko Coating
Start with your panko breadcrumbs in a medium bowl. Add black pepper, fine sea salt, and garlic powder. Include paprika for color and subtle warmth.
Sesame seeds add wonderful nutty flavor to the mixture. This touch reflects Israeli-style recipes. Mix everything thoroughly with a fork or whisk.
For homemade breadcrumbs, toast white bread until golden brown. Tear into pieces and process in your food processor. Aim for medium-fine crumbs that stick well.
Setting Up Your Dredging Bowls
Place all-purpose flour in your first bowl. Season it lightly with salt and pepper. This creates your initial coating layer.
Your second bowl holds beaten eggs. Use two large eggs for most recipes. Whisk them until uniform in consistency.
The third bowl contains your seasoned panko mixture. Keep it near the end of your assembly line. This order ensures logical workflow.
Shallow bowls work best for this process. They make coating easier and help avoid clumping. You can fully submerge each piece.
Here’s why this three-bowl system works so effectively:
| Bowl Component | Primary Function | Key Benefit |
|---|---|---|
| Seasoned Flour | Initial dry coating | Helps egg adhere to meat |
| Beaten Eggs | Wet binding layer | Allows breadcrumbs to stick |
| Panko Mixture | Final crispy coating | Creates golden crunch |
Customize your breading station with additional flavors. Try adding herbs or grated cheese to the panko mixture. This creates variety for different meals.
Organize everything before you start breading. This minimizes mess and keeps your workflow smooth. Each cutlet gets consistent coating this way.
The breading station is crucial for that signature crispy exterior. Proper setup makes the entire process enjoyable. You’ll create restaurant-quality results every time.
Bread the Chicken Like a Pro
Mastering the coating technique separates amateur results from professional quality. This crucial step creates that signature golden crunch everyone loves. With a few simple tricks, you’ll achieve perfect coverage every time.
Step-by-Step Dredging Method
Start with your prepared cutlets and three-bowl station. Follow this sequence for flawless results.
First, place one piece in the seasoned flour. Coat both sides evenly, then shake gently. Remove any excess powder for a thin, uniform layer.
Next, dip the floured piece into beaten eggs. Let extra liquid drip back into the bowl. This prevents clumping in your final coating.
Finally, press the piece into the panko mixture. Turn it over and pat gently. Ensure full coverage on both sides without gaps.
Work with one piece at a time through all three steps. This maintains organization and prevents station cross-contamination.
Tips for Even Coating
Professional chefs use a clever hand technique. Keep one hand for dry ingredients and the other for wet. This reduces mess and keeps your coating consistent.
After breading, place pieces on a wire rack over a baking sheet. This allows air circulation around each piece. The coating sets properly before cooking.
Let breaded cutlets rest for about 10 minutes. This waiting period improves adhesion during the cooking process. Your coating won’t fall off in the pan.
Press panko onto the surface gently but firmly. This ensures the breadcrumbs stick properly. You’ll get that perfect crispy texture everyone enjoys.
Even coating is essential for uniform browning. It prevents pale spots or burned areas. Your final result looks professionally prepared.
Proper breading technique makes all the difference. You’ll create restaurant-quality cutlets that impress your whole family. The extra care shows in every golden, crispy bite.
Cook to Golden Perfection
The final cooking stage transforms your prepared cutlets into crispy masterpieces. Proper technique here makes all the difference between good and extraordinary results. You’ll achieve that beautiful golden-brown finish everyone loves.
Heat management is your most important consideration. The right temperature creates a crisp exterior while keeping the interior juicy. Let’s explore how to master this crucial step.
Heating the Oil Correctly
Start by selecting a large, heavy-bottomed skillet. Cast iron or nonstick pans work best for even heat distribution. Pour about 1/8 inch of neutral oil into your pan.
Vegetable, canola, or peanut oil are excellent choices. They handle high heat without smoking or breaking down. Heat over medium until the oil shimmers gently.
The ideal temperature is around 375°F. Use a kitchen thermometer for accuracy if you have one. Otherwise, test with a small bread cube.
Drop a panko crumb into the oil. It should sizzle immediately and turn golden within seconds. This indicates perfect frying temperature.
Frying and Flipping Techniques
Carefully place breaded pieces into the hot oil. Don’t overcrowd the pan—leave space between each piece. This maintains proper oil temperature throughout cooking.
Fry for 2-3 minutes on the first side. The coating should turn a beautiful golden brown. Peek underneath before flipping to check color.
Use tongs or a spatula to flip each piece gently. Avoid splashing hot oil toward yourself. Cook another 2-3 minutes on the second side.
If browning seems too slow, increase heat slightly. Watch carefully to prevent burning. The entire process should take about 4-6 minutes total.
Work in batches to maintain oil temperature. Remove cooked pieces to a wire rack over a baking sheet. Line with paper towels to catch excess oil.
This draining method keeps your coating crispy. It prevents sogginess that occurs when pieces sit in oil.
| Frying Challenge | Simple Solution | Result |
|---|---|---|
| Oil temperature drops | Fry in small batches | Consistent crispiness |
| Uneven browning | Adjust heat as needed | Perfect golden color |
| Oil splatters | Use splatter screen | Cleaner cooking area |
| Soggy coating | Drain on wire rack | Maintained crunch |
Mastering these techniques ensures restaurant-quality results every time. Your family will marvel at the perfect texture and flavor. That golden perfection awaits in your kitchen.
Serving Suggestions and Sides
Your perfectly cooked cutlets deserve equally thoughtful accompaniments. The right pairings transform your meal from simple to spectacular. They create balance and harmony on your plate.
Fresh, vibrant sides complement the rich, crispy texture beautifully. They add color, nutrition, and exciting flavor contrasts. Your whole meal becomes more satisfying and complete.
Classic Pairings for Schnitzel
Lemon wedges are non-negotiable for serving. Their bright acidity cuts through the richness wonderfully. Squeeze fresh juice over your cutlets right before eating.
Israeli salad makes a refreshing traditional side. Dice cucumbers, tomatoes, and onions finely. Toss with lemon juice, olive oil, and fresh herbs.
Greek salad offers another fantastic option. Add feta cheese and Kalamata olives for extra flavor. The tangy dressing balances the meal perfectly.
Mashed potatoes create comforting warmth alongside your crispy cutlets. Their creamy texture contrasts delightfully with the crunchy coating. They’re especially popular during cooler months.
Roasted vegetables work beautifully too. Try carrots, zucchini, or bell peppers. Their natural sweetness enhances the savory main dish.
Rice provides a neutral base that soaks up flavors well. It makes the meal more filling for hungry appetites. Choose white, brown, or seasoned varieties.
Garnishing for Extra Flavor
Fresh parsley adds color and herbal freshness. Mince it finely and sprinkle over your finished dish. It makes everything look more appetizing.
Other herbs like dill or chives work wonderfully too. They bring their own unique flavor profiles. Experiment to find your family’s favorites.
A simple aioli dip enhances the experience deliciously. Mix mayonnaise with garlic and lemon juice. Serve it alongside for dipping enjoyment.
Whole grain mustard offers tangy contrast. Its sharpness cuts through the richness beautifully. Many enjoy this classic combination.
| Side Dish | Flavor Profile | Best For |
|---|---|---|
| Israeli Salad | Fresh, tangy, crisp | Light summer meals |
| Mashed Potatoes | Creamy, comforting | Family dinners |
| Roasted Vegetables | Sweet, caramelized | Seasonal variations |
| Lemon Wedges | Bright, acidic | Essential garnish |
| Fresh Herbs | Aromatic, fresh | Visual appeal |
Arrange everything beautifully on a large platter. The visual presentation makes the meal more special. Your family will appreciate the extra care.
Leftovers make fantastic sandwiches the next day. Layer between bread with lettuce and tomato. They maintain their delicious flavor wonderfully.
The right sides and garnishes elevate your entire dining experience. They turn a simple recipe into a memorable meal. Enjoy creating these perfect combinations.
Storing and Reheating Tips

Great meals deserve to stay delicious even after the first serving. Proper storage and reheating methods keep your crispy creations tasting fresh. These simple techniques preserve texture and flavor beautifully.
You put effort into making that perfect golden coating. With the right approach, it stays crunchy for days. Your leftovers can taste almost as good as when first cooked.
Keeping Schnitzel Crispy
Always let your cooked pieces cool completely before storing. Place them on a wire rack over a baking sheet. This allows air circulation and prevents sogginess.
Never stack warm cutlets directly into containers. The steam makes the coating soft and limp. Patience here makes a huge difference.
Use airtight containers for refrigerator storage. They protect your food while maintaining proper humidity levels. Your breaded meat stays fresh for 2-3 days.
For reheating, avoid the microwave at all costs. It turns crispy coating into a rubbery mess. Instead, use your oven or air fryer.
Set the temperature to 350°F for best results. Heat for 10-15 minutes, flipping halfway through. This restores that wonderful crunch everyone loves.
The air fryer works particularly well for this process. Its circulating air mimics fresh frying conditions. You get remarkably similar texture to day one.
Make-Ahead Strategies
Busy schedules call for smart preparation tricks. You can bread your cutlets ahead of time for convenience. This saves precious minutes during hectic weeknights.
Place breaded pieces between parchment paper layers. Store them in the refrigerator for up to 24 hours. They’ll be ready for frying when you need them.
For longer storage, freezing works perfectly. Arrange coated pieces on a baking sheet first. Freeze them solid before transferring to freezer bags.
They’ll keep for up to one month this way. Thaw overnight in the refrigerator before cooking. Fry as usual for fresh-tasting results.
This make-ahead approach streamlines your cooking process. You enjoy homemade meals without daily preparation stress. It’s practical for any busy family.
These storage and reheating tips extend your meal’s enjoyment. They preserve quality while offering flexibility. Your delicious creation remains a treat for days.
Conclusion
You now hold all the secrets to creating perfect golden cutlets at home. Brining and pounding your own meat to even thickness ensures juicy, tender results every time. The right tools and quality ingredients make the process smooth and rewarding.
This versatile dish welcomes your personal touch with different seasonings and sides. Pair it with a fresh salad and lemon for a balanced meal that pleases the whole family. For more high-protein ideas, explore our delicious chicken recipes.
Your effort yields incredible flavor and that signature crispy coating everyone loves. This recipe will become a cherished staple in your kitchen. Enjoy sharing this classic dish with your loved ones!
FAQ
Can I use regular breadcrumbs instead of panko?
You can, but panko breadcrumbs give you that extra crunch and lighter texture that makes this dish special. Regular ones work in a pinch, but panko is the chef’s choice for the crispiest results.
How do I know when the oil is hot enough for frying?
A great trick is to drop a small breadcrumb into the oil. If it sizzles immediately and turns golden brown in about 15 seconds, your oil is perfectly heated and ready for your cutlets.
What’s the best way to reheat leftovers without them getting soggy?
For the crispiest reheated schnitzel, skip the microwave. Use an air fryer or your oven at 375°F for a few minutes. This will bring back that delicious, golden brown crunch.
Do I have to brine the meat?
While you can skip it, brining is the secret to incredibly juicy and flavorful results. It only takes 30 minutes and makes a huge difference, ensuring your breasts stay moist and tender.
What are the best sides to serve with this dish?
It pairs wonderfully with so many things! A simple lemon wedge, a fresh green salad, or classic German sides like potato salad and spaetzle are all fantastic choices for a complete meal.
Can I bake the schnitzel instead of pan-frying it?
Absolutely! For a lighter option, place your breaded cutlets on a wire rack over a baking sheet. Bake at 400°F for about 15-20 minutes, flipping halfway, until they are cooked through and crispy.