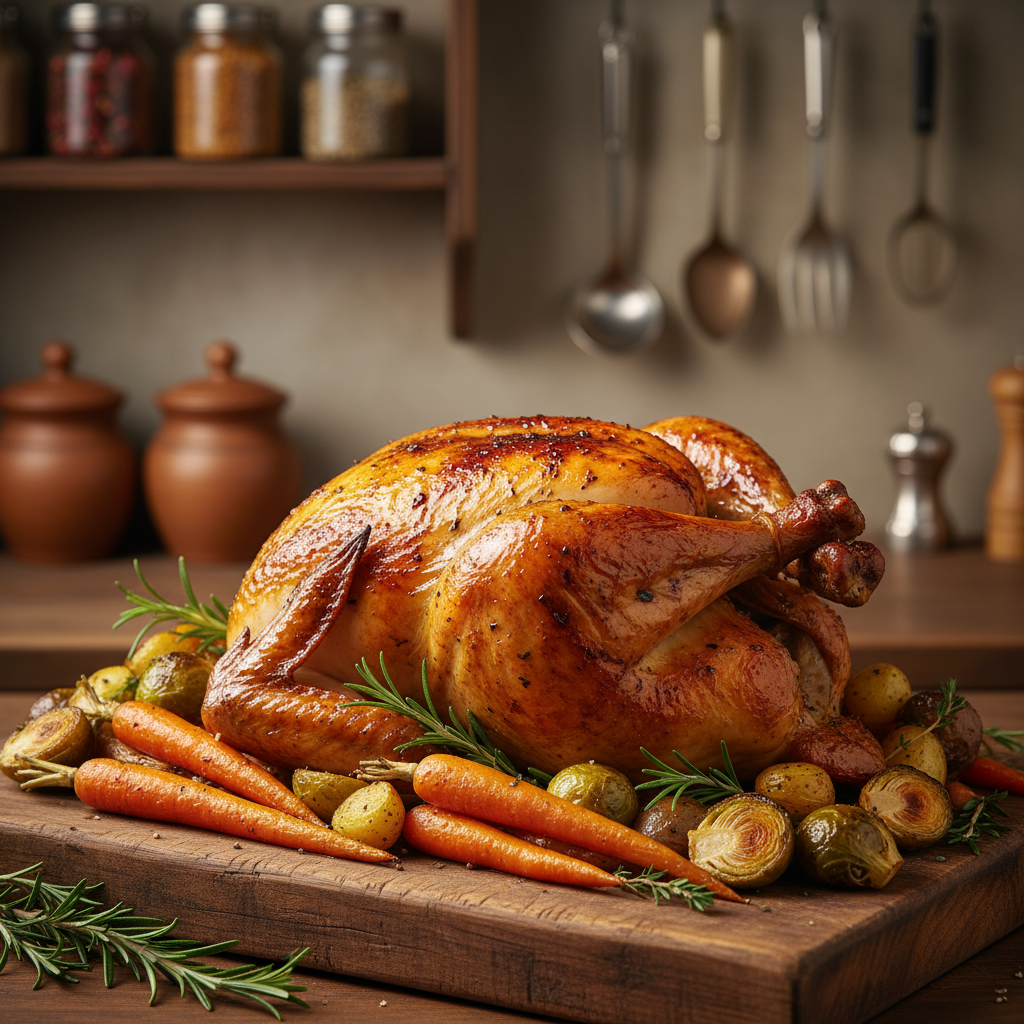
Master the basics and your weeknight dinner will feel like a celebration. You will learn a clear, reliable recipe that shows how oven temperature, roasting time, and simple ingredients create crispy skin and juicy meat.
Follow tips from Nagi of RecipeTin Eats to pick the right pan, use fresh butter, garlic and herbs, and add lemon for bright pan juices. You will also learn how the cavity, salt, pepper and proper degrees of heat affect cooking time and final flavor.
Why You Should Master Baked and Roasted Chicken
A dependable roast method is the foundation of many easy, crowd-pleasing recipes.
Learning to prepare a perfectly roasted chicken is a rite of passage for any home cook aiming to improve weeknight dinner options.
This versatile recipe feeds a crowd or serves a quiet meal. When you nail the time and technique, the bird stays juicy inside every time.
Having a reliable roast chicken recipe in your arsenal lets you pull together a healthy, protein-rich meal fast. Many cooks stop buying store rotisserie birds once they master this method.
- Consistent results build confidence to try new herbs and seasonings.
- One solid roast technique scales for family dinners or special occasions.
- Leftovers from a roast are versatile for sandwiches, salads, and soups.
| Benefit | Why it matters | Result |
|---|---|---|
| Reliability | Predictable timing and heat | Juicy meat every time |
| Versatility | Adapts to flavors and portions | Feeds a crowd or two |
| Economy | Less waste, more leftovers | Better value than store-bought |
Essential Ingredients for the Perfect Bird
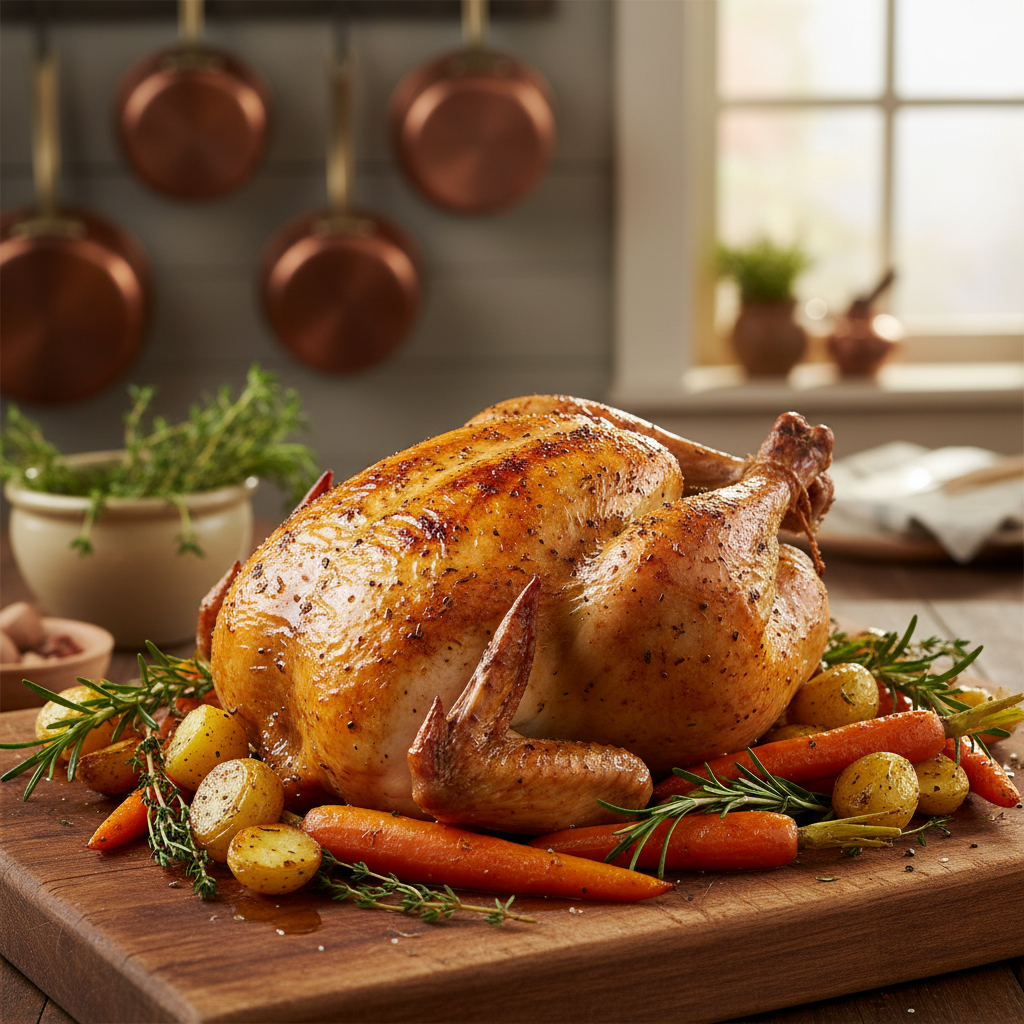
The right bird and simple aromatics set you up for success every time. Start by choosing a high-quality whole chicken in the 4–5 pound range; Melissa Norris recommends this size for even cooking and predictable time in the oven.
Selecting the Best Bird
Pick a bird that fits your pan. Size affects roasting time and final texture. Check the cavity for giblets before seasoning.
Keep your kitchen clean while you handle the meat. A tidy workspace makes prep faster and safer.
Herb and Butter Combinations
Stuff the cavity with lemon, garlic, and thyme or rosemary sprigs for bright, aromatic juices. A simple mix of softened butter, salt, and pepper, spread under and over the skin, helps the top skin turn golden.
- Use plain butter to boost browning and moisture.
- Keep seasonings simple so the bird’s natural flavor shines.
- Optional: add parsley or sage to the butter for a fresh twist.
Preparing Your Chicken for the Oven
Good prep sets the stage for a great roast. Start with a whole chicken at room temperature so cooking time stays steady. Take a few minutes now to do simple steps that improve texture and flavor.
Patting the Skin Dry
Dry skin crisps best. Before you place chicken in the oven, pat the skin completely dry with paper towels. Spend extra minutes until the surface feels dry to the touch.
- Preheat oven to the correct temperature—this guarantees even roasting from the start.
- Use a dessert spoon to loosen the skin over the breast and drumsticks without tearing it.
- Gently spread a garlic and herb butter under the skin for deep flavor.
- Stuff the cavity with onion and lemon, but avoid overpacking so air can circulate.
- Tie the legs with kitchen twine after basting to keep the roasting chicken compact.
- Make sure all ingredients are at room temperature before you begin.
| Step | Why it matters | Result |
|---|---|---|
| Dry skin | Removes surface moisture | Crispier, golden skin |
| Butter under skin | Infuses fat and herbs | Juicy meat with rich flavor |
| Cavity aromatics | Adds subtle perfume | Balanced, bright roast |
Choosing the Right Roasting Pan and Equipment
Choose equipment that helps heat move around the bird for a reliable, golden finish.
Pick a sturdy pan with a rack. A cast-iron skillet or a roasting pan with a rack lifts the whole chicken. When you place chicken on a rack, the underside stays out of the juices. That helps the skin crisp and brown evenly.
Make sure the pan is large enough so the bird does not crowd the sides. Good airflow shortens cook time and gives a uniform color to the roast.
Quality pans also catch drippings that form the base of a rich sauce for this recipe. Collect those juices after resting to make a simple pan sauce that boosts flavor.
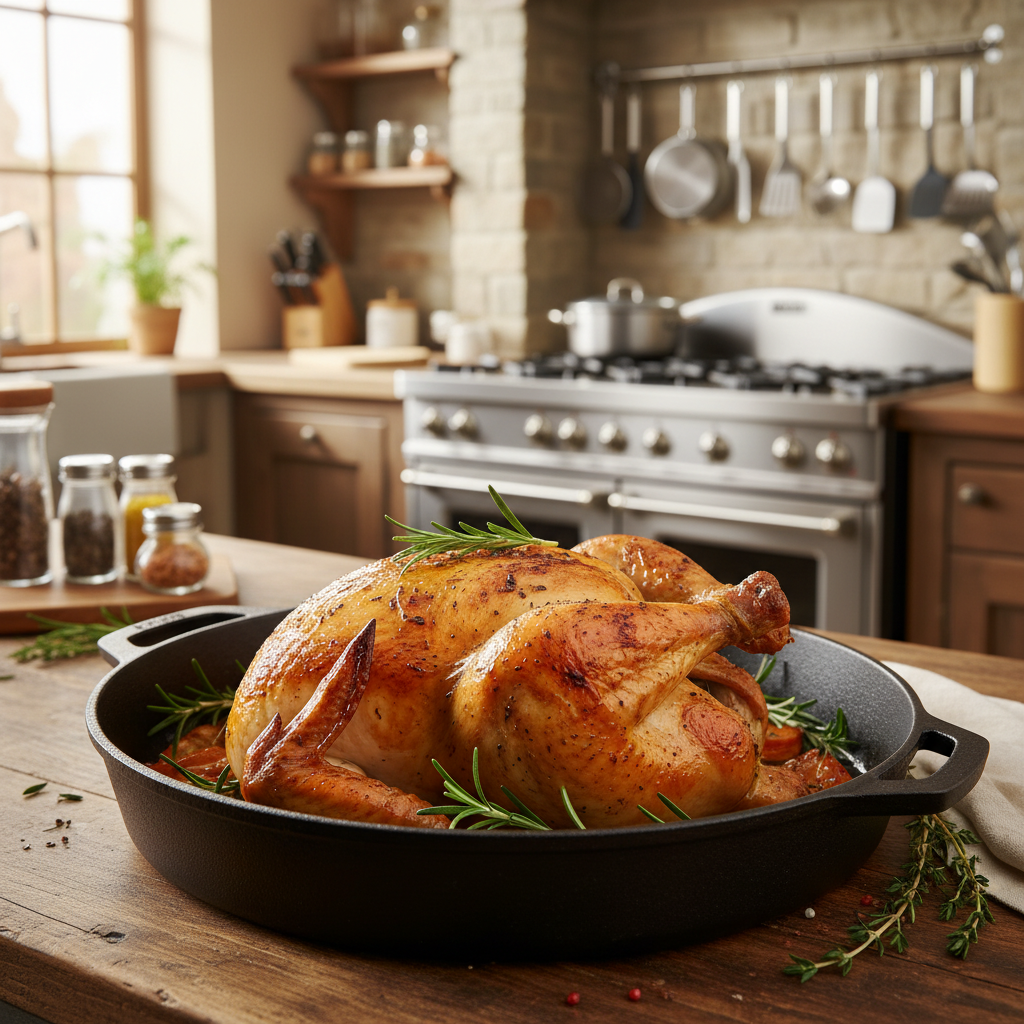
- Use a rack to improve skin texture and even cooking.
- Choose a pan that fits the whole chicken without forcing it.
- Invest in solid tools to make prep and cleanup easier in your kitchen.
| Equipment | Benefit | When to use |
|---|---|---|
| Cast-iron skillet | Even heat, great sear | Small to medium birds; quick roast time |
| Roasting pan with rack | Elevates bird, collects drippings | Whole chicken for even browning |
| Ovenproof rack only | Max air circulation, crisp skin | When you want a lighter pan base |
Mastering the Art of Crispy Skin
Crispy skin is the payoff of a few precise steps you can use every time. Focus on salt, fat, and a smart flip to get even browning from top to bottom.
The Role of Salt
Salt draws out surface moisture, which helps the fat under the skin render during roasting. Sprinkle salt evenly over the skin and under the skin pocket for deeper seasoning.
Using Butter Under the Skin
Smear softened butter mixed with minced garlic, lemon zest, and herbs under the skin. This keeps meat juicy while the outer skin crisps.
Flipping the Bird
Start by placing chicken breast-side down for part of the time. Flip halfway through so the top skin gets direct heat and a better color.
- Season skin with salt and pepper to form a savory crust.
- Baste with pan juices during the final minutes for gloss and flavor.
- Keep most garlic in the butter under the skin to prevent burning.
| Technique | When to use | Benefit |
|---|---|---|
| Salt rub (surface + under skin) | Before roasting | Removes moisture; improves crispness |
| Butter under skin | During prep | Locks moisture; adds flavor |
| Flip halfway | Midpoint of cook time | Even browning of top skin |
Temperature Guidelines for Juicy Meat
A simple temperature plan helps you hit safe doneness while keeping the meat moist and tasty. Set your oven to preheat oven 220°C/450°F for the first part to kick-start browning. That blast helps the skin turn golden fast.
For a 2 kg whole chicken, roast 10 minutes at 220°C/450°F, then lower to 180°C/350°F and continue for 1 hour 15 minutes. Total time gets you close, but use a meat thermometer to confirm doneness.
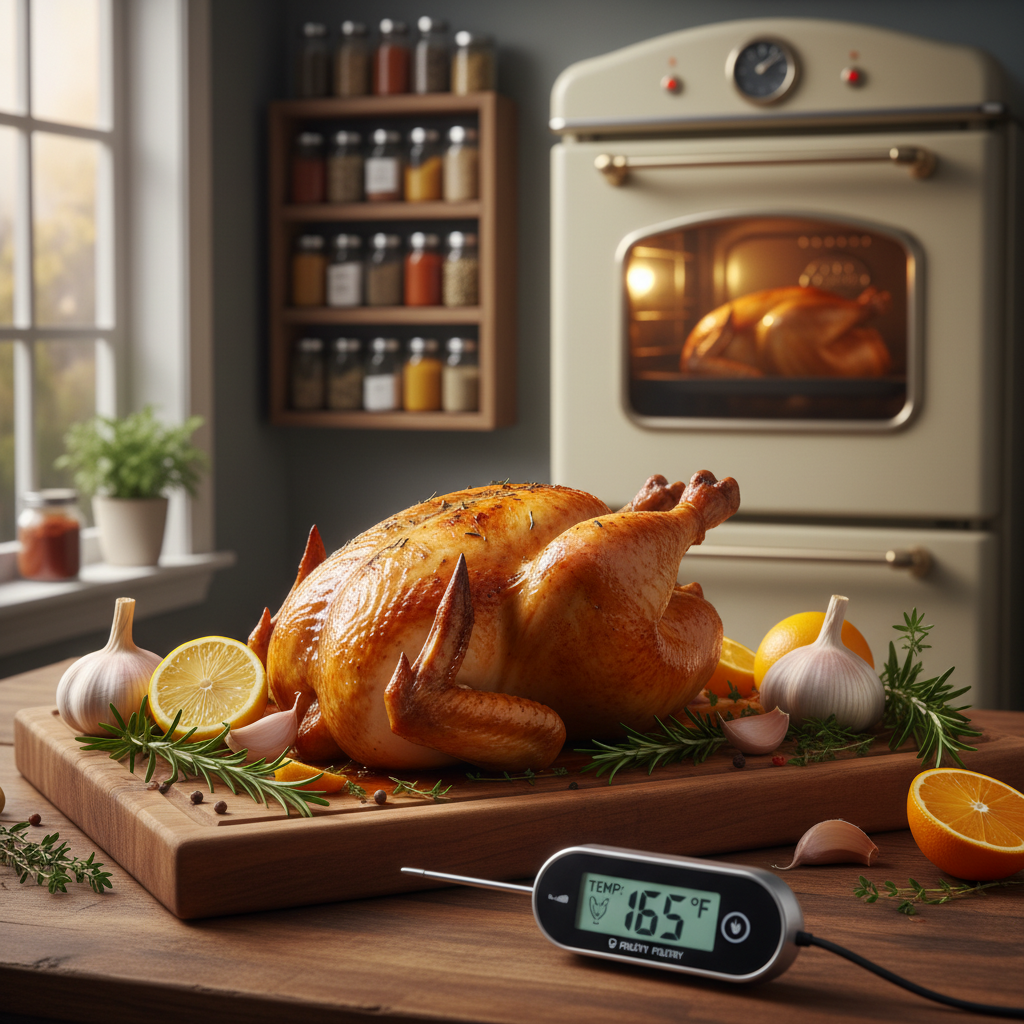
Using a meat thermometer is the only way to guarantee the internal temperature reaches 75°C/165°F every time. Insert the probe into the thickest part of the thigh, avoiding bone.
- If the bird is fridge-cold, add about 10 extra minutes to the total minutes.
- Monitor the degrees in your oven to avoid overcooking the meat — that causes dry results.
- Season with salt, pepper, lemon, and butter before roasting for better juices and flavor.
| Step | Temp | Why |
|---|---|---|
| Initial blast | 220°C / 450°F (10 minutes) | Promotes crisp skin |
| Main roast | 180°C / 350°F (1 hour 15 minutes) | Even cooking of meat |
| Safe doneness | 75°C / 165°F (use thermometer) | Food-safe, juicy meat |
Follow these time and temperature steps and your roast chicken will be tender, flavorful, and safe to serve.
Basting Techniques for Maximum Flavor
Regularly spooning hot pan juices over the bird builds a deep, savory crust you can taste in every bite. Basting is a small step that protects the meat and layers flavor while it cooks.
Creating Liquid Gold Pan Juices
Those golden drips are more than fat — they are concentrated flavor. Butter, garlic, onion, and a squeeze of lemon mix with drippings to form rich juices you can baste back over the skin.
- Baste gently every 30 minutes to build a glossy crust and keep the interior moist during roast time.
- Leave soft garlic cloves in the pan; they add sweet depth to the final gravy.
- Add fresh herb sprigs like thyme near the end to perfume the juices without burning the herbs.
- To make gravy, whisk a spoon of flour into warm pan juices, then add broth and simmer until thickened.
| Basting Interval | Benefit | When to Use |
|---|---|---|
| Every 30 minutes | Develops crust, preserves moisture | During mid and final oven time |
| Final minutes | Brightens flavor, adds gloss | Add lemon or herbs for finish |
| After resting | Use juices for gravy | Whisk with broth for serving |
Tip: Reserve some pan juices to spoon at the table. A little drizzle lifts any recipe and makes leftovers taste fresh.
The Importance of Resting Your Chicken
After the oven, give your bird a calm pause so the internal juices can move back into the meat.
You must let rest the chicken for at least 15 to 20 minutes after removing it from heat. These rest minutes let the juices redistribute and the internal temperature stabilize, which makes slices juicier when you carve.
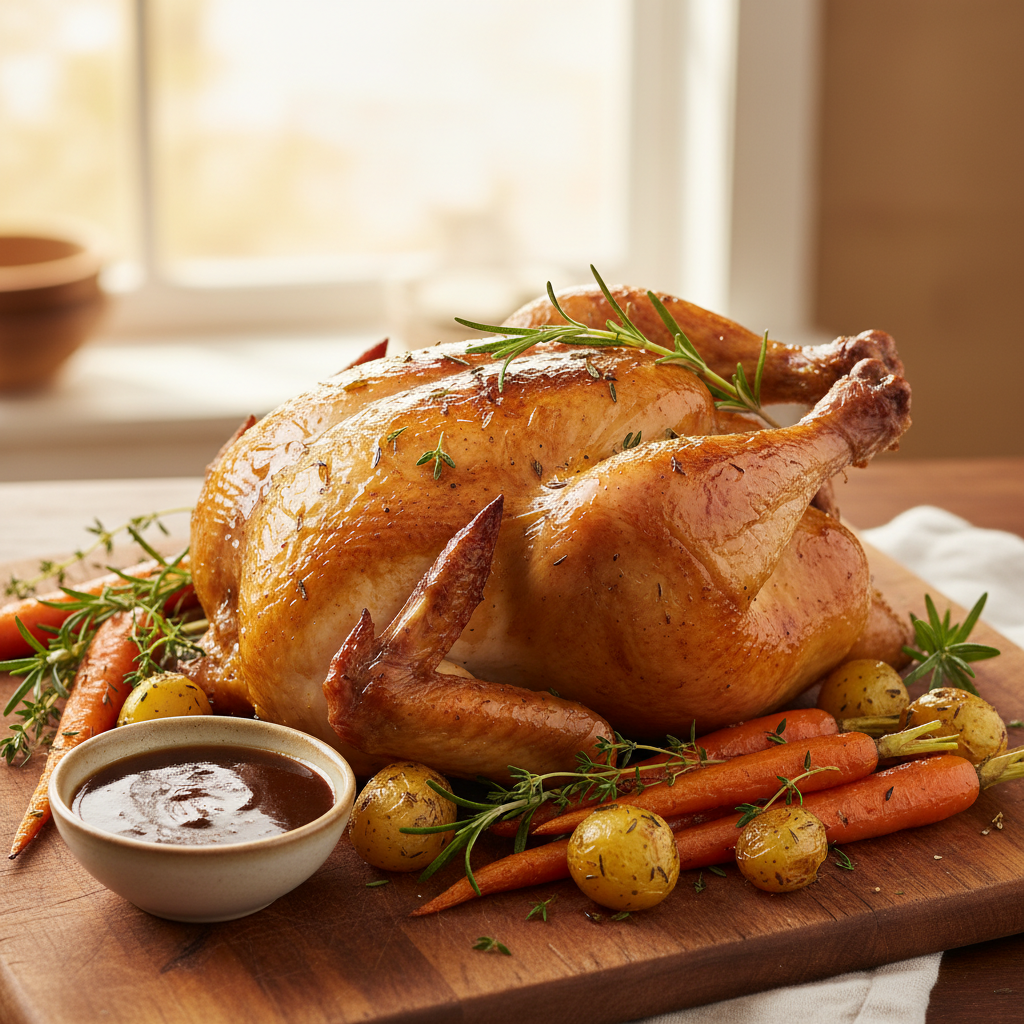
If you cut too soon, liquid runs out and the meat dries. That is a common mistake for beginners and it hurts the final texture.
Use the pause well: finish your gravy, warm the plates, or prep a simple side while the bird is resting. This small time investment improves a home recipe more than extra oven minutes ever will.
- Resting keeps the juices inside the meat, not on your cutting board.
- The bird’s temperature evens out during those minutes, so each slice tastes consistent.
- A properly rested bird is easier to carve and looks better on the plate.
Creative Ways to Use Leftover Meat
A simple plan for using leftover meat stretches one roast into several satisfying meals you can enjoy over the next few days.
Making Homemade Broth
Use the carcass to make rich broth. Place bones, onion, carrot, celery, herbs, and cold water in a pot. Simmer gently for several hours—often 3 to 4 minutes is a typo in brief; simmer for several hours until the stock is golden and fragrant.
Strain, cool, and refrigerate. Your broth keeps 4 to 5 days in the fridge, or freeze for up to three months.
Incorporating Chicken into Casseroles
Shred cooled meat and fold it into a hearty casserole for a quick weeknight dinner. Combine with vegetables, a creamy base, and a topping of breadcrumbs or cheese.
These recipes come together in minutes if you use prepped vegetables and warm broth.
| Use | Why | Storage |
|---|---|---|
| Broth | Maximizes flavor from carcass | 4–5 days fridge / 3 months frozen |
| Casserole | Comforting, feeds a crowd | Ready in minutes for dinner |
| Salads & Wraps | Quick, healthy lunches | Best within 4–5 days |
Troubleshooting Common Roasting Mistakes
If your roast looks off, a short checklist will help you fix it fast. Start with simple checks so you can serve a better meal tonight and learn for next time.
Skin not crispy? Pat the whole bird completely dry before you season. Wet skin steams in the oven and prevents browning. Also check that your oven reached the correct degrees before you put the bird inside.
Worried about doneness? Use a meat thermometer — it’s the only reliable way to avoid undercooking or overcooking the meat. Insert the probe into the thickest part of the thigh, avoiding bone, to get an accurate reading.
Garlic burning? Keep most garlic under the skin or mixed into butter so it flavors without charring. Too much on the surface burns during long roasting time.
- If gravy is lumpy, whisk the hot juices into the flour-butter roux slowly to smooth it out.
- For dry slices, remember to let rest the bird for the recommended rest minutes so juices redistribute.
- Don’t overstuff the cavity; loose thyme, lemon, or onion allow even heat and safe internal temperature.
| Problem | Likely Cause | Quick Fix |
|---|---|---|
| Dull, soggy skin | Surface moisture before roasting | Pat dry; increase initial oven heat for a short blast |
| Undercooked center | Wrong oven temperature or tight cavity | Check degrees with a meat thermometer; loosen aromatics |
| Burned garlic | Garlic placed on top of skin | Move garlic under skin or into the pan with butter |
| Lumpy gravy | Flour added too fast or cold | Whisk slowly, add warm juices, strain if needed |
Conclusion
With steady technique, even a basic oven routine yields reliably juicy results and crisp skin.
Focus on quality ingredients like fresh thyme, sliced onion, and minced garlic to lift a simple bird into a memorable meal.
Manage the correct degrees, use a thermometer, and always let the meat rest after the heat. These small moves make this recipe dependable.
This versatile roasted chicken recipe turns into many other recipes: broths, casseroles, sandwiches, and quick weeknight plates.
Keep practicing these steps. You will gain confidence, better timing, and tastier results. Thank you for following this guide—enjoy your next roast.