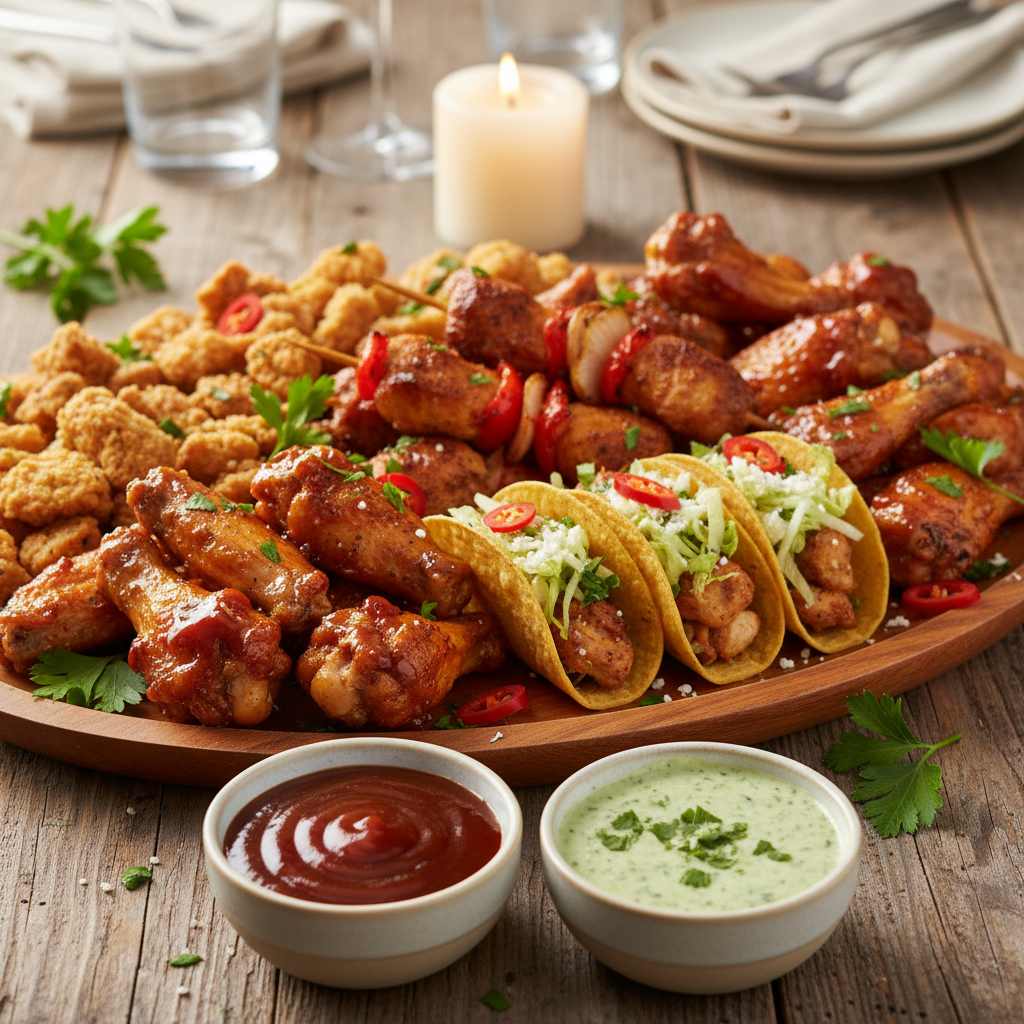
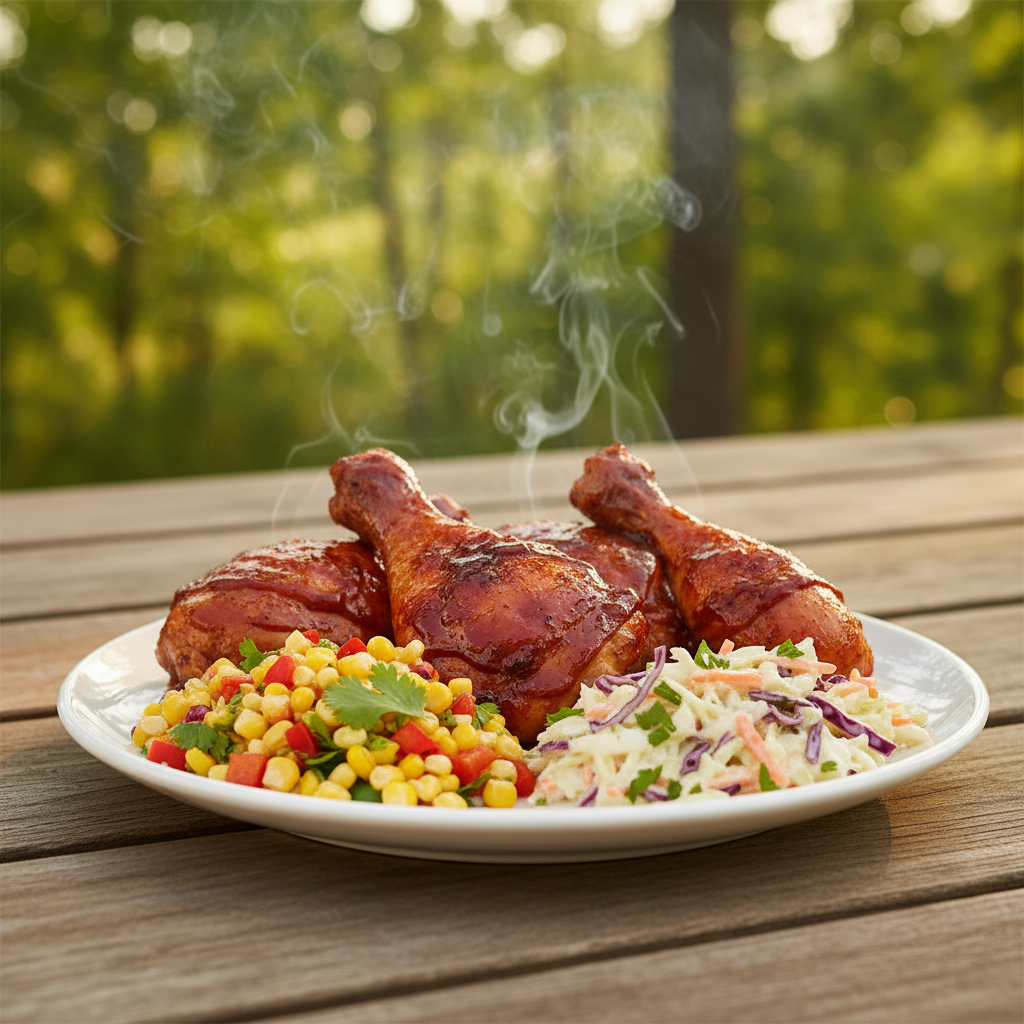
Get ready to serve a memorable dinner that keeps guests asking for seconds. You will learn simple steps to make juicy, flavorful meat every time you use the grill.
Start with a smart prep plan: a marinade or dry rub, attention to temperature, and timed sauce application all matter. Karen swears by a beer brine and bone-in thighs, she called it the best BBQ & Grilled Chicken she ever made.
Over 30,000 readers saved this popular chicken recipe on Plays Well With Butter, proving its reliability for backyard gatherings. You will learn how to balance bbq sauce and cooking time to get a smoky char without drying the meat.
Whether you are new or experienced, these grilling tips help you control heat, keep meat tender, and finish with bold flavor. Follow along and you’ll turn simple ingredients into a standout summer meal.
Choosing the Best Cuts of Meat
Start by choosing cuts that match your cooking plan—this decision shapes how your meat turns out.
Selecting the right meat is the first step in any great BBQ recipe. Bone-in thighs deliver more flavor because the dark meat has extra fat that renders during cooking.
Bone-in vs. Boneless
Bone-in pieces stay juicy and tolerate higher heat. Boneless breasts cook faster but can dry out without close attention on the grill.
Skin-on vs. Skinless
Skin-on chicken creates crisp texture when managed carefully. If you plan a sweet or sticky sauce, delay glazing so the skin stays crisp and not soggy.
- Mix thighs and drumsticks for variety in texture and cooking times.
- Lean breasts suit quick recipes but need lower heat and monitoring.
- Always factor skin when timing your sauce application.
| Cut | Flavor | Grill Tip |
|---|---|---|
| Chicken thighs (bone-in) | Rich, forgiving | High heat then indirect finish |
| Chicken breasts (boneless) | Lean, mild | Cook quickly over medium heat |
| Skin-on pieces | Crispy exterior | Apply sauce late to preserve skin |
The Importance of Brining for Juicy Results
A quick brine can turn ordinary poultry into a reliably juicy main for any summer meal.
Why brine? Salt in a marinade changes the protein structure so the meat holds more moisture during cooking. That means better texture and deeper flavor when you finish with a sauce or a sear.
Beer vs. Buttermilk Brines
Beer adds subtle sweetness and helps the salt penetrate. Buttermilk tenderizes and gives a gentle tang. Either works well for breasts or darker cuts.
- Brine up to 3 days in the refrigerator for full flavor.
- If you lack beer, use 1 cup of buttermilk or a vinegar-based DIY mix.
- Even a short 15-minute brine improves a quick chicken recipe when you’re short on time.
- Always keep the meat fully submerged in the marinade for even results.
Practical tip: Use a simple salt-and-beer mix to help lean cuts retain juices. Let the brine do the work, then pat dry before applying rubs or glazing so the skin crisps rather than steams during your next backyard bbq.
Crafting a Flavorful Dry Rub
A simple, well-balanced dry rub is the secret that lifts ordinary poultry into something memorable.
Start with pantry staples: chili powder, paprika, cumin, garlic powder, onion powder, mustard powder, and a touch of brown sugar. These ingredients build a rich, smoky flavor and a caramelized crust when you cook.
Mix the rub in a bowl. Use about one cup total for a family-sized batch, adjusting salt and sugar to taste. Store the blend in an airtight jar for up to two months for quick prep.
- Pat meat dry before applying the rub so the spices adhere and form a crisp exterior.
- A small amount of brown sugar helps caramelize and create a beautiful char without overpowering the sauce later.
- This versatile mix works on other cuts and fits into a simple marinade or as a finishing sprinkle.
Quick tip: keep fresh garlic powder and onion powder for the best aroma. With a balanced mix of salt, sugar, and spices, your next bbq chicken or other grilled main will have the right depth of flavor every time.
Essential Tools for BBQ & Grilled Chicken Success
The right gear keeps your cookout calm and consistent. You only need a few reliable tools to hit the target temperature and great flavor every time you use the grill.
Must-haves:
- Mixing bowls and measuring spoons for marinades and rubs so your prep stays tidy.
- A sturdy pair of grilling tongs to flip meat without piercing the skin and losing juices.
- An instant-read thermometer — the most reliable way to ensure safe internal temps.
- A high-quality pastry brush to apply bbq sauce evenly in the final minutes.
Keep tools organized and clean near your cooking area. This helps you focus on timing and temperature instead of hunting for a spoon.
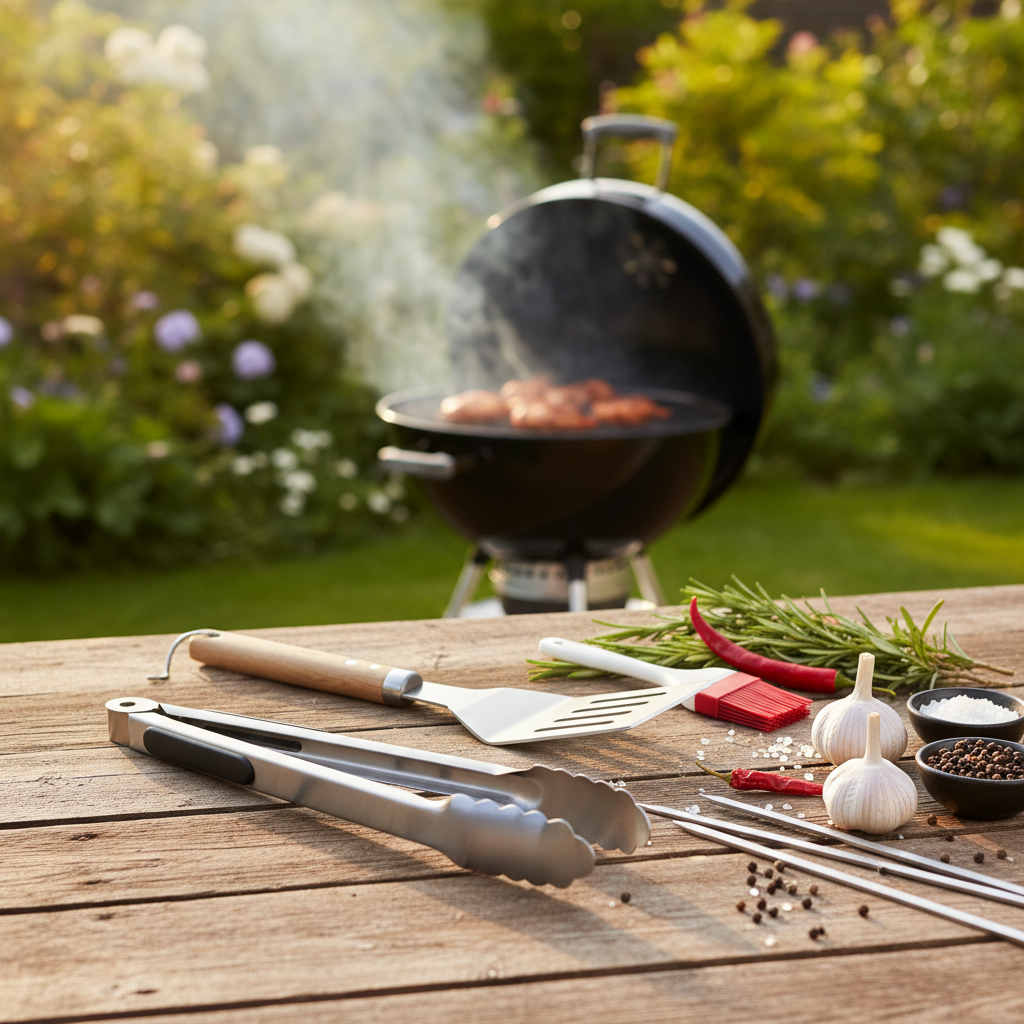
| Tool | Why it matters | Quick tip |
|---|---|---|
| Instant-read thermometer | Prevents overcooking and ensures food safety | Check at the thickest part of the meat for best results |
| Grilling tongs | Safe flipping without piercing skin | Use long-handled tongs for better reach and control |
| Pastry brush | Even sauce coverage for a glossy finish | Brush on bbq sauce during the last few minutes |
| Mixing bowls & spoons | Efficient prep area for marinades and rubs | Keep one bowl for wet mixes and one for dry to avoid cross-contamination |
Final tips: Invest in a reliable thermometer and keep tools handy. These small steps elevate your recipe and make grilling easier. With the right setup, your next bbq chicken or other grilled meal will come out juicy and well timed.
Preparing Your Grill for Optimal Heat
A well-prepared grill sets the stage for even cooking, crisp skin, and a perfect finish.
Start by cleaning and oiling the grates. This prevents sticking and gives you clear sear marks on skin-on pieces. Check burners or vents and remove ash buildup before you light the fire.
Gas Grill Setup
Preheat your gas grill for at least 15 minutes so the grates are hot enough to sear. Create a hotter side for browning and a cooler side to finish cooking gently.
If flare-ups occur, drop a few ice cubes on the flames to tame them safely without affecting your marinade or sauce.
Charcoal Grill Setup
Light coals and let them ash over, about 30 minutes. Pile coals to one side to create direct heat and indirect heat zones.
Sear first over direct heat, then move pieces to indirect heat to finish without burning the bbq sauce or drying breasts or chicken thighs.
| Grill Type | Preheat | Heat Zones | Best Use |
|---|---|---|---|
| Gas | 15 minutes | Adjustable hot and cool sides | Quick sear; easy temp control for breasts |
| Charcoal | 30 minutes | Coal pile for direct/indirect | Deeper smoky flavor for thighs |
| All grills | — | Keep one clean zone | Prevent sauce from burning; finish gently |
Mastering the Two-Zone Grilling Method
This method pairs indirect heat for even cooking with direct heat for a caramelized finish.
Set up two zones: pile coals or light one burner for a hot side and leave the other side cooler for indirect heat. Place your chicken on the indirect side and close the lid to keep a steady heat.
Leave pieces undisturbed for about 15 minutes so the interior rises evenly. Use an instant-read thermometer at the thickest part and aim for 150 degrees F before moving to direct heat.
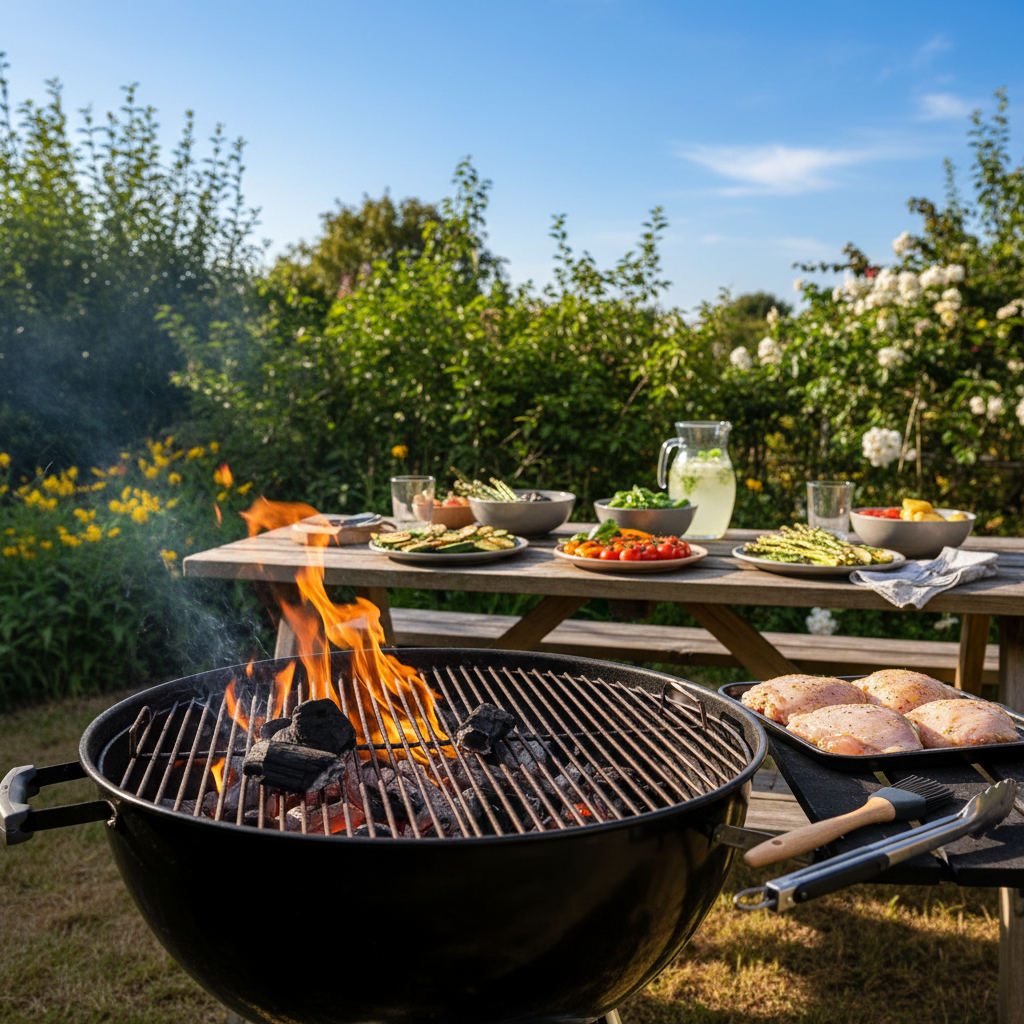
Once at temp, move to the hot side to baste with bbq sauce and develop a char. This quick sear locks in juices and adds bold flavor without overcooking.
- Control total cook time by switching zones rather than raising the flame.
- On a charcoal grill, the two-zone setup is essential to manage intense heat.
- Adjust placement for skin-on pieces or thick cuts so the exterior won’t burn.
| Step | Target | Why it matters |
|---|---|---|
| Indirect cook | 150°F at thickest part | Prevents burned skin and evens internal heat |
| Direct sear | 1–3 minutes per side | Builds color and caramelizes sauce |
| Check | Instant-read thermometer | Reliable doneness and food safety |
Applying Sauce at the Right Time
Hold off on saucing until the final moments so your glaze caramelizes without burning.
Apply sauce only during the last few minutes on the grill to prevent sugars from charring over direct heat. Wait until the meat reaches its near-final temp on the indirect side, then move pieces toward direct heat to baste.
Brush your sauce on while the pieces are over direct heat and flip every few minutes. This builds thin layers that become a sticky, caramelized glaze without burning.
- Too much sauce early leads to burnt sugars; save glazing for the final minutes.
- If serving skin-on pieces, apply sauce sparingly so the skin stays crisp and not soggy.
- Use a pastry brush for precise application and even coverage before serving.
- Keep an eye on the heat—sauce can go from perfect to burnt in just a couple of minutes.
Timing is the final step that turns good meat into a crowd-pleasing dish. With careful saucing and short bursts over direct heat, you’ll finish with a glossy, savory result that elevates your bbq cookout.
Monitoring Internal Temperature for Safety
A fast, accurate temperature check is the single best step between a good cookout and a safe one.
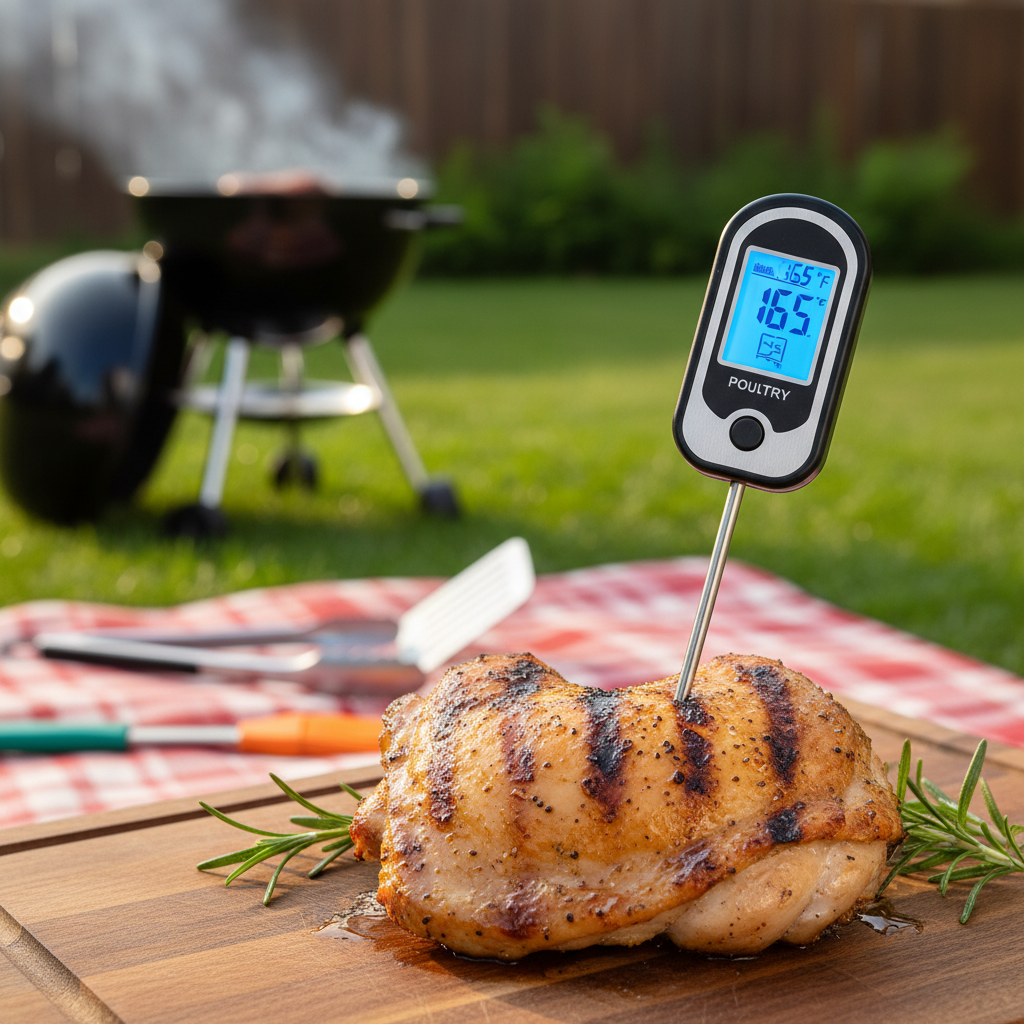
Why it matters: chicken is safe to eat when it reaches 165°F in the thickest part of the meat. Relying on time or color alone can leave you guessing. Use a probe to confirm doneness and keep meat juicy.
Using an Instant-Read Thermometer
Using an instant-read thermometer is the only way to guarantee safe, tender results. Insert the probe into the thickest part, avoiding bone, which gives false readings.
- Remove meat from the grill when it reads 160°F; carryover heat will bring it to 165°F while resting.
- Monitor breasts closely—these dry out faster than thighs and need careful timing over direct heat and indirect heat.
- Whether you cook thighs or breasts, the thermometer gives consistent results for any bbq or grill session.
- Always clean the probe between checks to prevent cross-contamination during prep and service.
Follow these simple steps and you’ll serve safe, flavorful food every time. A quick probe saves minutes and keeps your guests happy.
Recommended Side Dishes for Your Cookout
Pair the main with simple sides that complement flavor and free you up to manage the grill.
Classic choices work best: potato salad, macaroni salad, and a crisp broccoli salad balance the richness of saucy mains. These sides are familiar, easy to scale, and friendly for all ages.
Offer grilled vegetables to save time. Cook asparagus, peppers, or corn alongside your pieces so everything finishes within the same minutes of direct heat.
Prep many sides a day ahead. Keep cold salads chilled and serve them at safe temperatures. This gives you more time to focus on the protein and the final brush of sauce.
| Side | Prep Time | Best With |
|---|---|---|
| Potato salad | 30–45 minutes | Works well with bbq chicken or roasted breasts |
| Macaroni salad | 20–30 minutes | Nice with smoky sauce and spicy rubs |
| Broccoli salad | 15–20 minutes | Offers crunch to contrast tender meat |
| Grilled vegetables | 10–15 minutes | Cook on the grill with direct heat for char |
Quick tip: match sides to the spice level and protein content so each serving feels balanced. That way, your backyard meal tastes complete and satisfying.
Storing and Reheating Leftover Chicken
Keep your leftover chicken safe and flavorsome with simple, reliable steps.
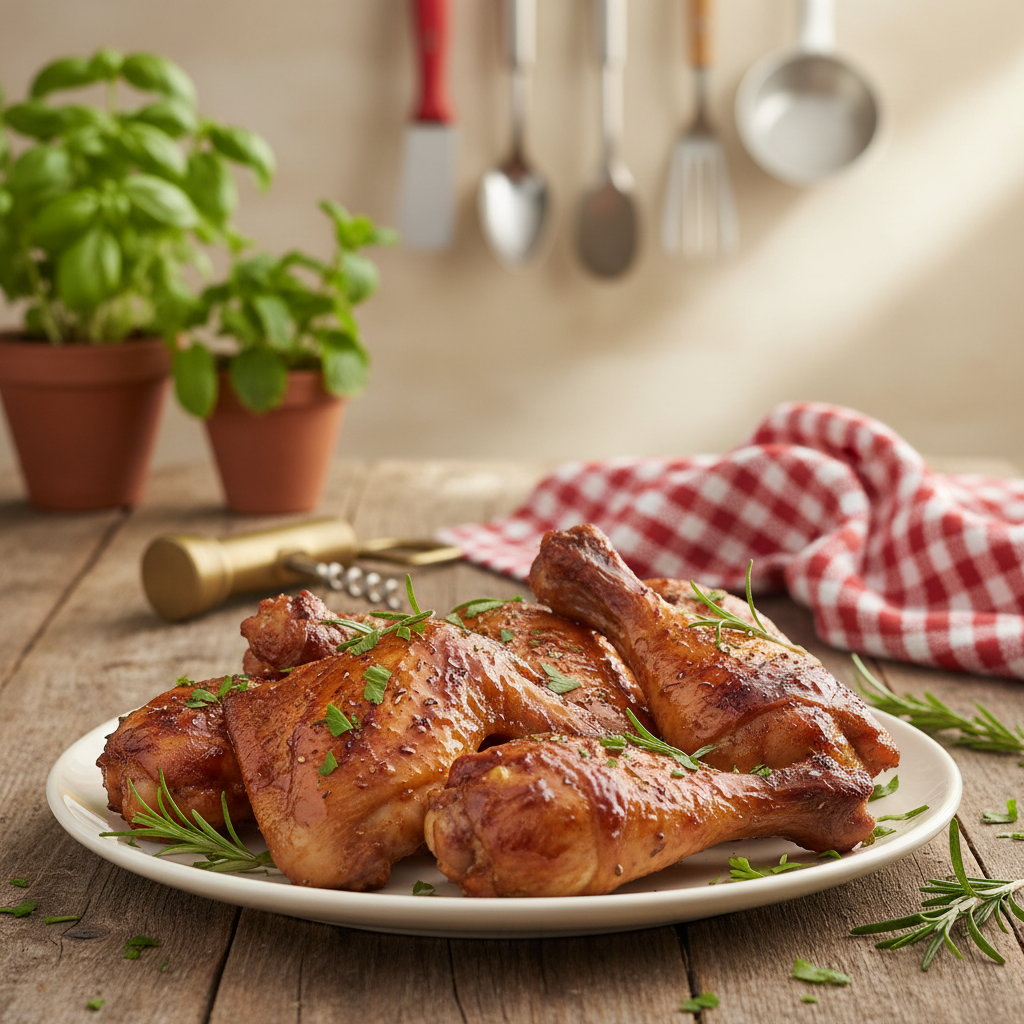
Store promptly: Place cooled pieces in an airtight container and refrigerate. You can keep leftovers for up to 4 days.
Reheat correctly: Preheat an oven to 350 degrees F. Put the meat on a sheet tray and warm for about 15 minutes. Cover with foil so the sauce and meat stay moist.
- If you have a lot, freeze properly sealed portions for up to 3 months.
- Label packages with the date so you track storage time.
- Always confirm reheated meat reaches an internal temperature of 165 degrees F before serving.
Quick tips: Let large pieces rest under foil after reheating for a few minutes. Use leftover meat in salads or as a side for easy meals. Proper storage and reheating means your barbecue effort turns into easy, delicious meals later.
| Method | Duration | Notes |
|---|---|---|
| Refrigerate (airtight) | Up to 4 days | Keep chilled and sealed |
| Oven reheat | 350°F for 15 minutes | Cover with foil to retain sauce |
| Freeze | Up to 3 months | Seal well and label date |
Conclusion
A thoughtful mix of brine, rub, and heat control will change how your meals turn out every time. Use the brine and marinade steps, then season with a dry rub to build depth. Let the grill zones do the work and watch temperature, not time, guide you.
Finish with a brief glaze: apply sauce in the last minutes to create shine without burning. Pair the main with a simple side so flavors balance and service stays smooth.
These recipes and tips give you a clear way to make juicy, tender chicken. Whether you aim for a classic bbq chicken or new variations, these methods keep results consistent and delicious.
FAQ
How do you choose the best cuts of meat for an easy cookout?
Which is better: bone-in vs. boneless for grilling?
Should you cook skin-on or skinless pieces?
What brine works best for juicy results — beer or buttermilk?
How long should I brine meat for a cookout?
What makes a balanced dry rub?
Which tools are essential for grilling success?
How do you set up a gas grill for even cooking?
How is a charcoal grill setup different?
What is the two-zone grilling method and why use it?
When should you apply sauce during cooking?
What internal temperature should you aim for to ensure safety?
How do you use an instant-read thermometer correctly?
What side dishes pair well with a cookout menu?
How should you store and reheat leftovers safely?
Reviews
There are no reviews yet. Be the first one to write one.
Scrollable
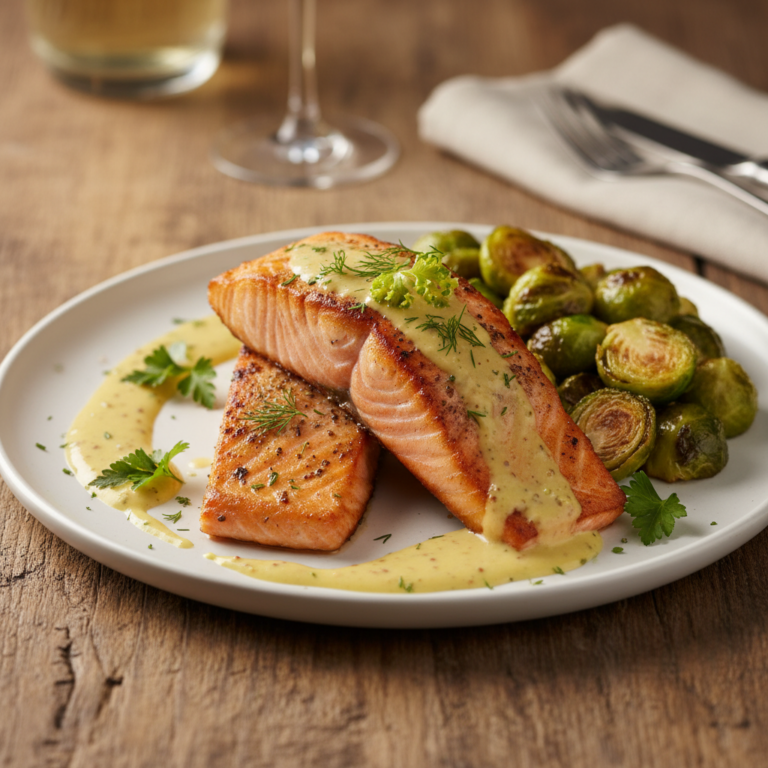
Seared Salmon with Brussel Sprouts and Mustard Sauce Recipe
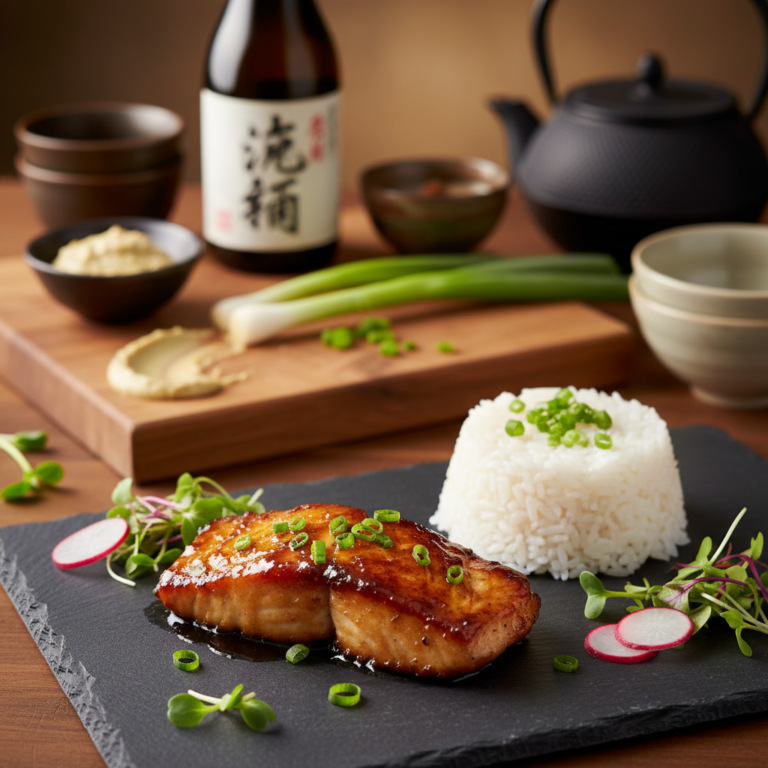
How to Cook Miso Black Cod Perfectly Every Time
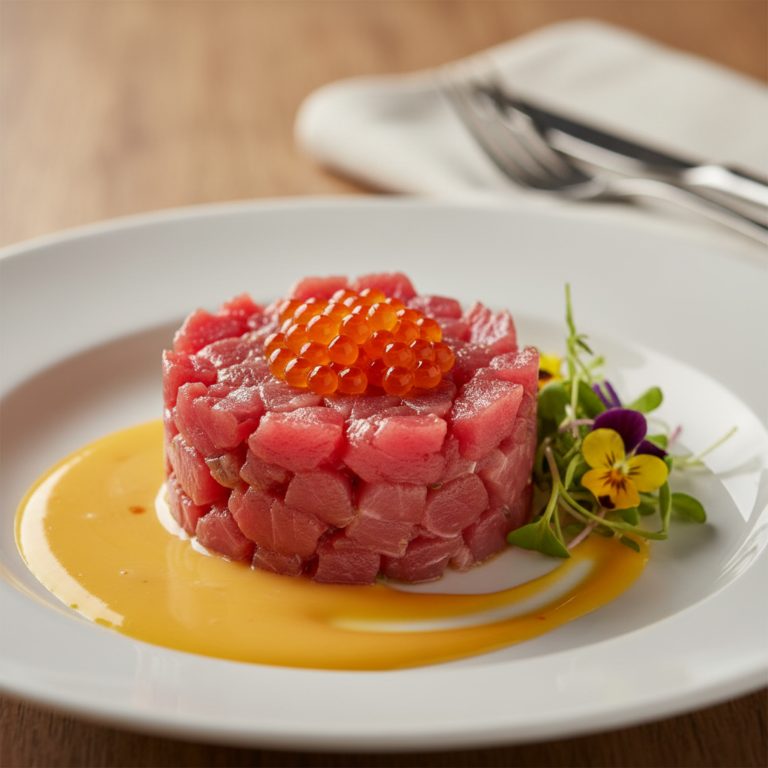
How to Make Tuna Tartare with Salmon Caviar and Egg Yolk Sauce

Enjoy Honey Vegetable Salad at Niche – Fresh and Tasty
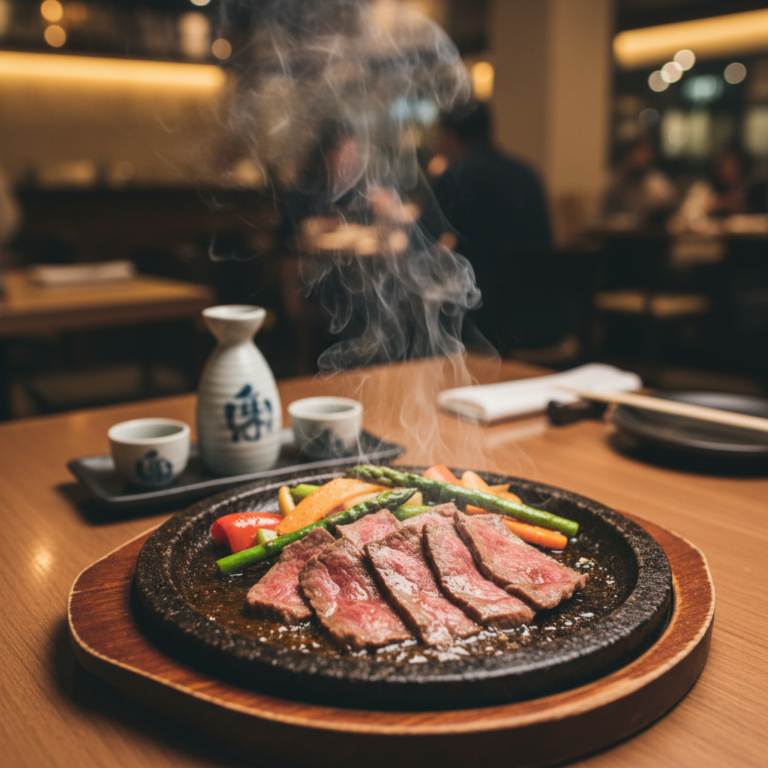
Enjoy Wagyu Beef Toban Yaki at Katana Restaurant
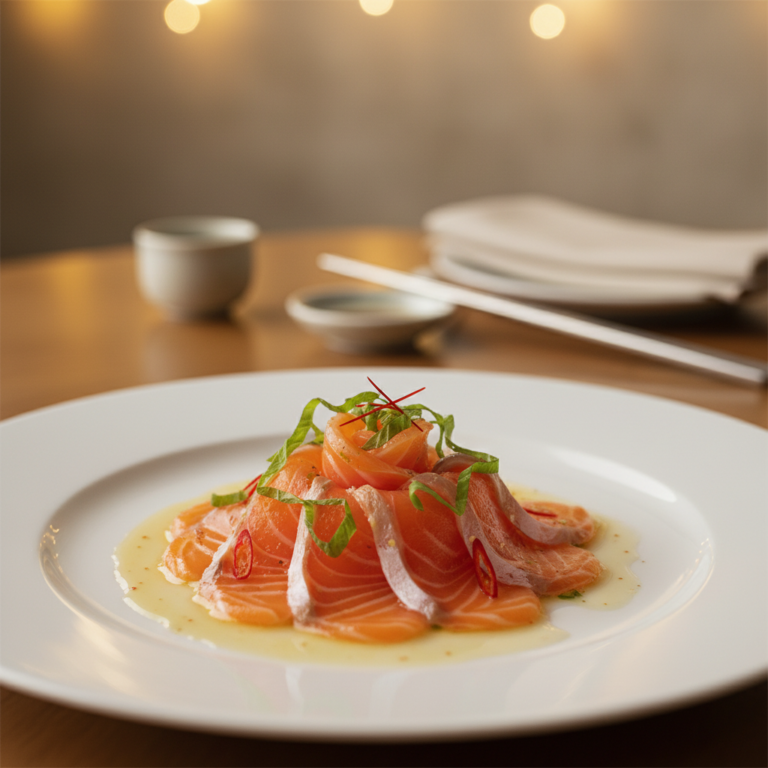
Discover New Style Salmon Sashimi at Nobu Today
More to Love
-
Seared Salmon with Brussel Sprouts and Mustard Sauce Recipe
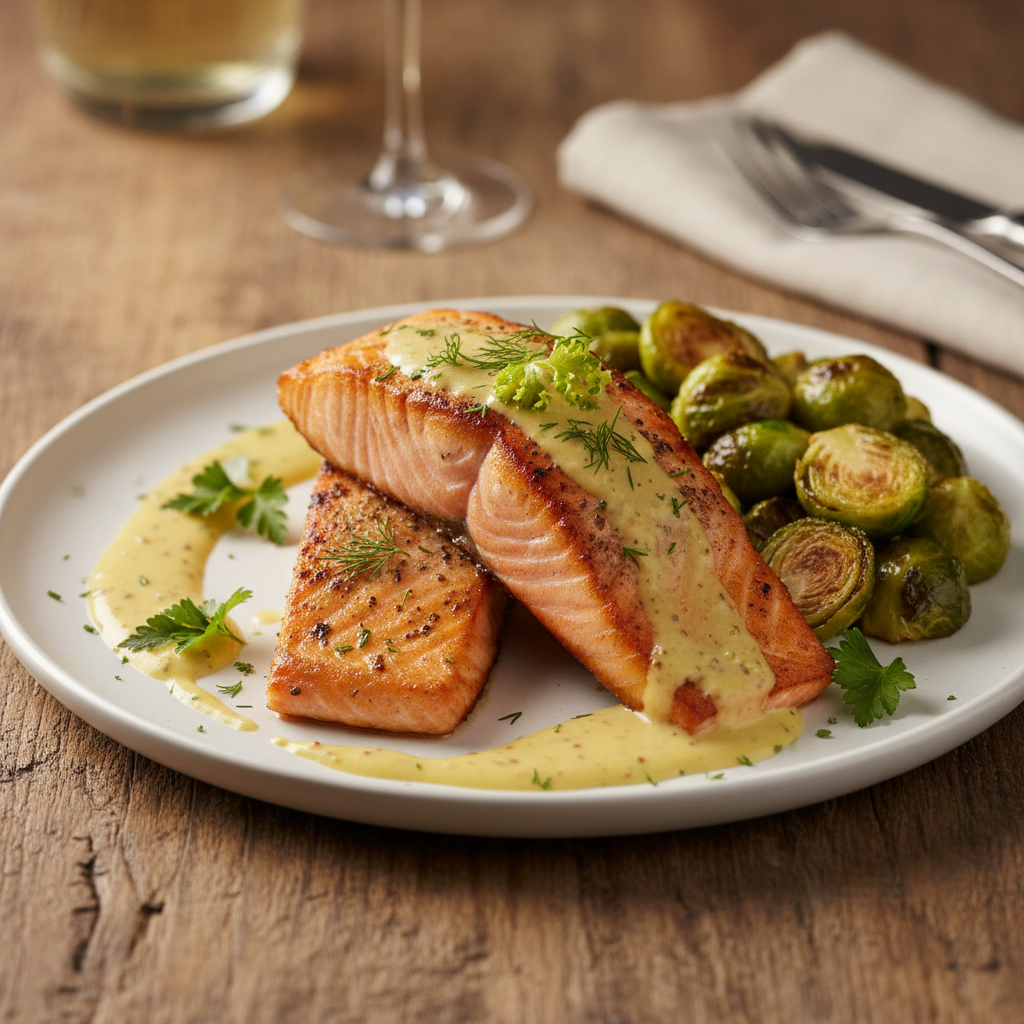
Learn how to make Seared Salmon with Brussel Sprouts and Mustard Sauce with this easy step-by-step guide perfect for your next dinner.
-
How to Cook Miso Black Cod Perfectly Every Time
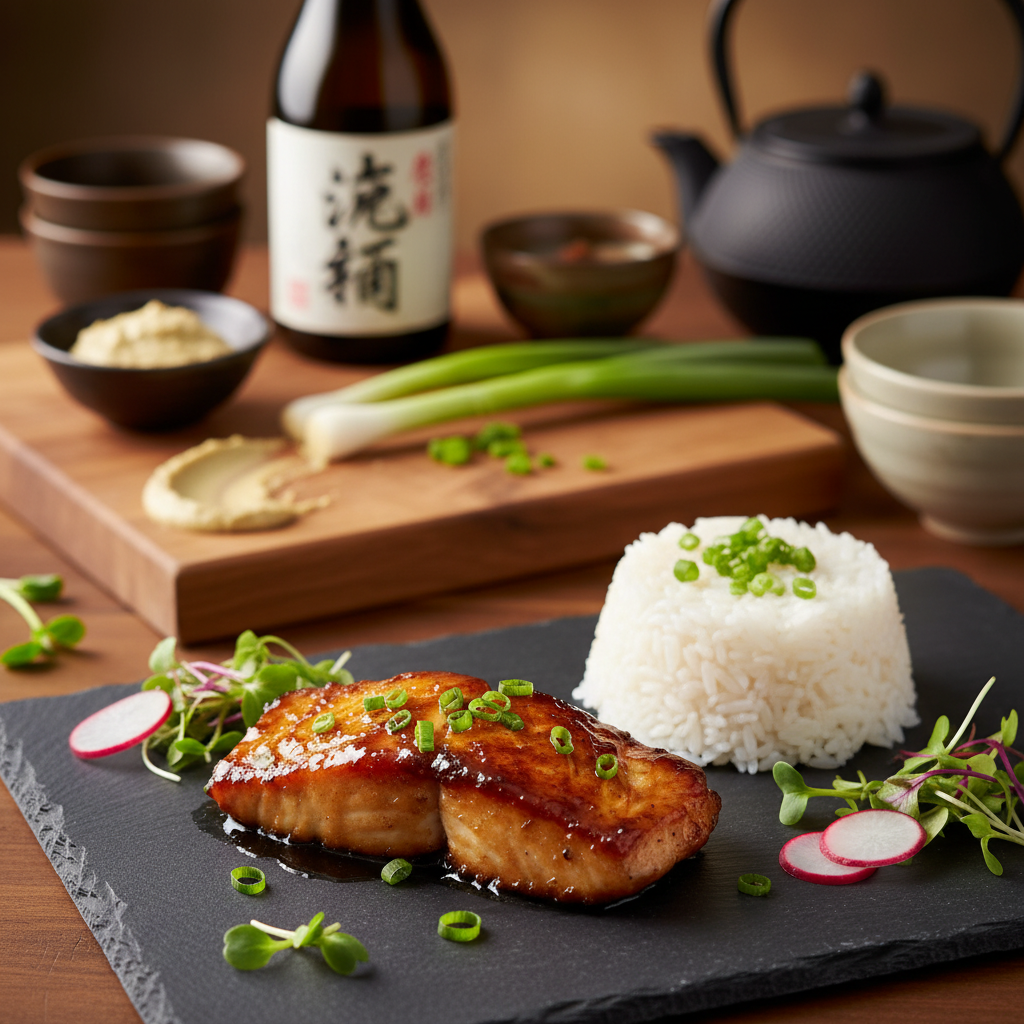
Cook Miso Black Cod perfectly at home! Our recipe includes tips and tricks to ensure every bite is delicious. Try it today for a gourmet experience!
-
How to Make Tuna Tartare with Salmon Caviar and Egg Yolk Sauce
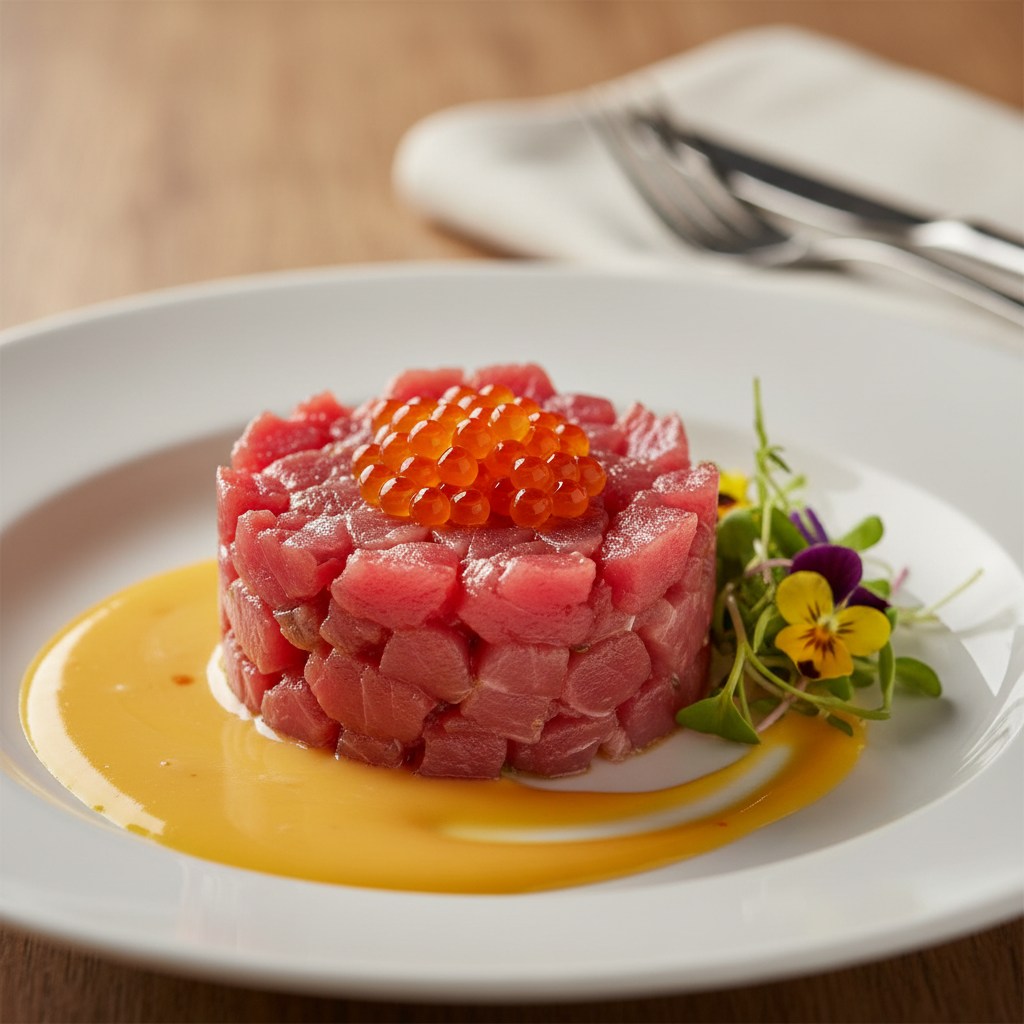
Learn how to prepare Tuna Tartare with Salmon Caviar and Egg Yolk Sauce with our step-by-step guide perfect for your next gourmet meal.